Soft, warm, and perfectly buttery—these homemade flour tortillas are simple to make and taste way better than store-bought. With no yeast and just five pantry ingredients, this recipe delivers authentic Tex-Mex flavor in every bite. Great for tacos, wraps, or eating fresh off the skillet.
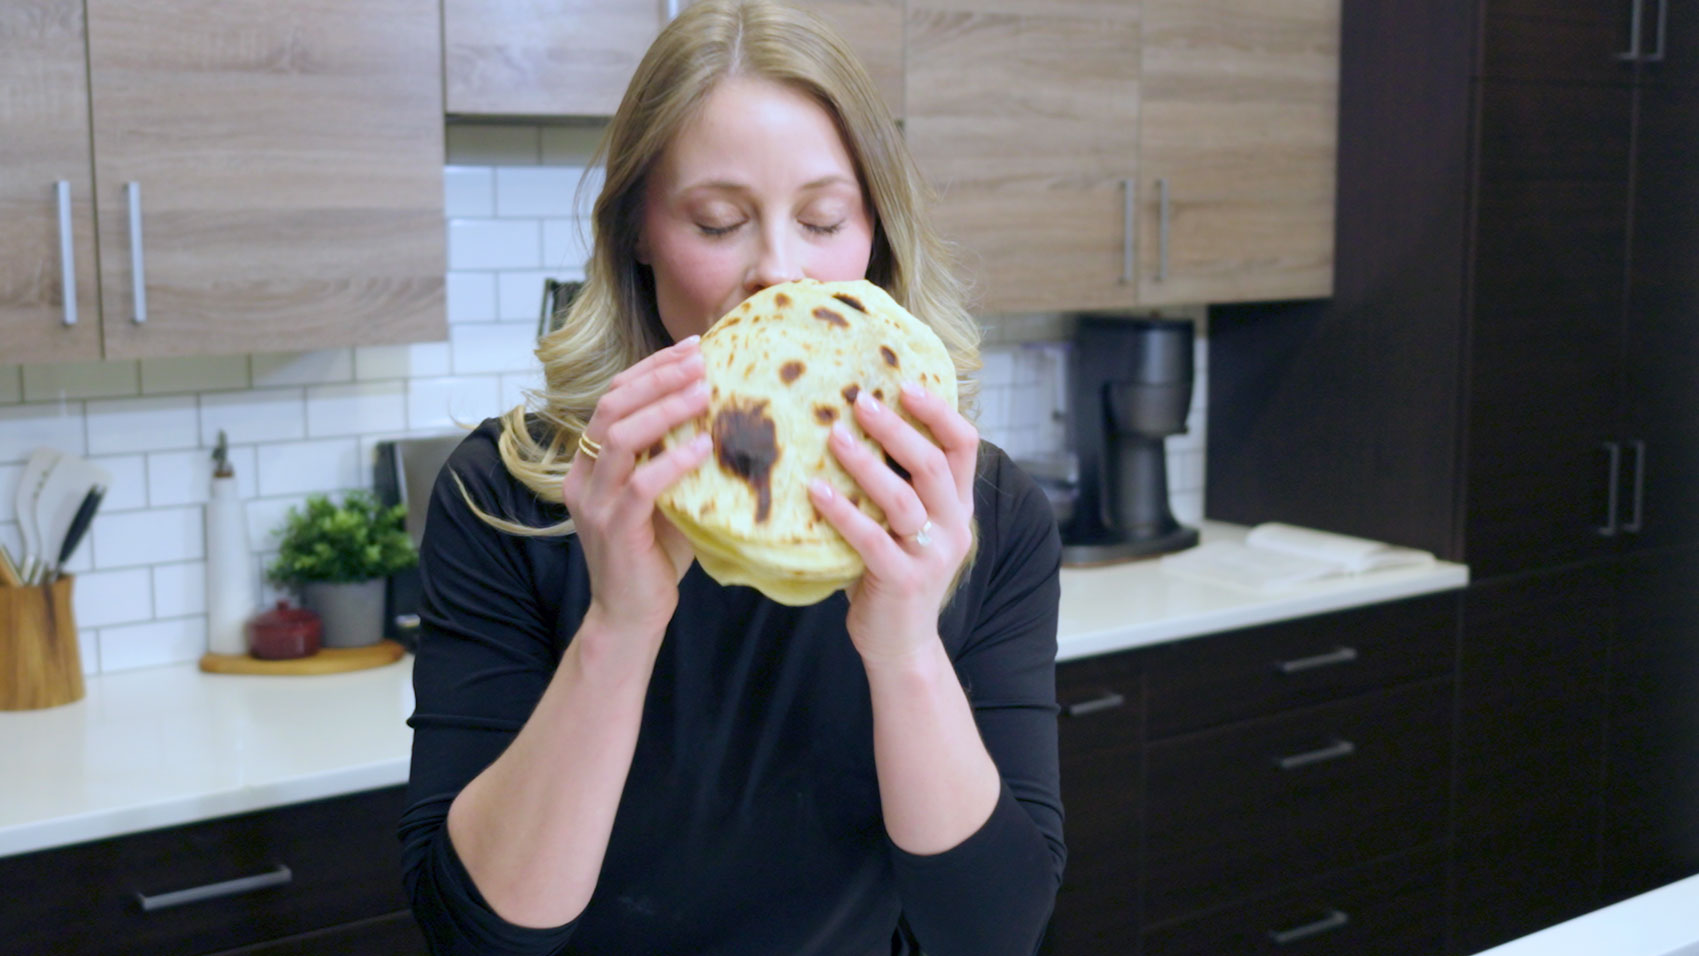
grew up in Austin, Texas, where I was completely spoiled with Tex-Mex on every corner. My family ate out every week, and more often than not, it was at a local Mexican restaurant where the food was as authentic as it gets. The owners were from Mexico, and 90% of the staff barely spoke English. I still remember the first time we went—it was a small room with a mariachi band playing so loud I could hardly hear myself think. My parents still laugh about it to this day.
Even when I came home from college, the first stop was always the same: our local Mexican restaurant. It was tradition, comfort, and flavor all rolled into one tortilla-covered plate.
But let’s be honest—store-bought tortillas just don’t cut it. They’re loaded with preservatives and weird ingredients, and they taste like plastic compared to the real thing. Once you make homemade tortillas, you’ll wonder why you ever bought them in the first place.
Why I Love This Recipe
What I love about this recipe is how simple and satisfying it is. There’s no yeast to fuss with, and the butter really shines—adding richness and softness that makes each bite melt in your mouth. These tortillas are warm, pliable, and full of flavor, just like the ones I grew up with.
Equipment Needed:
And don’t worry about equipment—whether you use a skillet, a cast iron pan (which I highly recommend), or even a regular nonstick pan, they all turn out delicious. Trust me, I’ve made them on all three.
TIME
10 mins
Prep
15-30 mins
Rest Time
20 mins
Cook Time
NUTRITIONAL FACTS
~182
Calories
~7.9g
Fat
~24g
Carbs
~3.3g
Protein
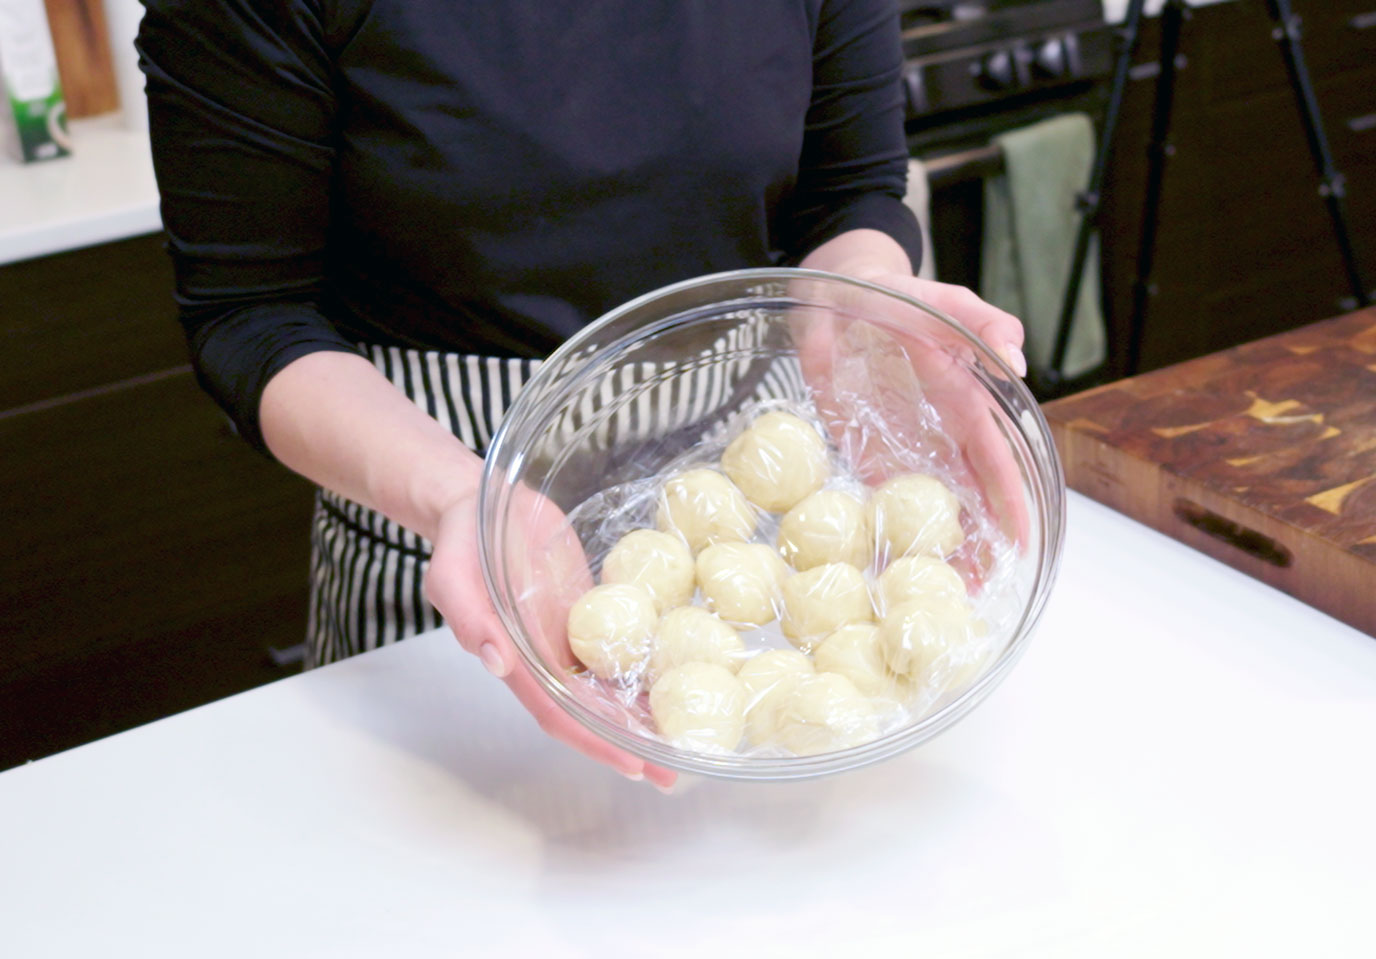
Tortilla Presses
A tortilla press is a round, flat press used to flatten balls of dough into perfectly round tortillas. While they’re traditionally used for corn tortillas, you can also use them for flour tortillas—just make sure to let your dough rest so it’s soft and pliable, and use parchment paper on both sides to prevent sticking.
Type of Tortilla Presses:
- Cast Iron – Heavy-duty, gives the most even press
- Aluminum or Stainless Steel – Lightweight and easy to clean
- Wooden – Traditional but can be harder to maintain
What Type of Flour Should You Use?
For this recipe, I use all-purpose flour—and it works beautifully. It gives the tortillas just the right balance of softness and strength. You want your tortillas to be pliable and tender, but not so delicate that they fall apart when filled or folded.
All-purpose flour is easy to find, affordable, and perfect for homemade tortillas. It contains just enough protein to develop a bit of structure (thanks to gluten), but not so much that it makes the tortillas tough or chewy.
If you’re wondering about alternatives:
- Cassava flour – A starchy, grain-free flour that mimics the texture of all-purpose flour better than most.
- Tapioca starch or arrowroot flour – Helps with flexibility and chewiness.
- Coconut flour – Used in small amounts; it absorbs a lot of moisture.
- Eggs – Add structure and softness.
- Olive oil, ghee, or avocado oil – For healthy fat and richness.
- Water or almond milk – To hydrate the dough.
Quick Paleo Tortilla Tip: Try using 1 cup cassava flour, 1 tablespoon olive oil, 1/4 teaspoon salt, and ¾ cup warm water. Mix into a dough, roll into balls, press flat, and cook on a hot dry skillet. Done in minutes!
How to Make Paleo-Friendly Tortillas
If you’re following a paleo lifestyle or just want a grain-free option, traditional butter flour tortillas won’t fit the bill. But don’t worry—there are amazing paleo tortilla alternatives that are soft, foldable, and perfect for tacos, wraps, or snacking.
- Bread flour will make a chewier tortilla with more structure.
- Whole wheat flour can be used for a heartier option, but the texture will be denser. Try doing half AP and half whole wheat if you’re easing into it.
- Gluten-free flours won’t work the same in this recipe unless you’re following a specifically developed GF tortilla recipe (which I’m happy to help you with too!).
Full Recipe in Details
Soft, warm, and perfectly buttery—these homemade flour tortillas are simple to make and taste way better than store-bought. With no yeast and just five pantry ingredients, this recipe delivers authentic Tex-Mex flavor in every bite. Great for tacos, wraps, or eating fresh off the skillet.
STARTING GUIDE
INGREDIENTS
GUIDE / INSTRUCTIONS
NOTES
Don’t stress about getting your tortillas perfectly round—trust me, they’ll still taste amazing. Once you make these from scratch, it’s hard to go back. The aroma, the softness, the subtle butter flavor… it’s all worth the few extra minutes in the kitchen.
They freeze beautifully too—just layer them between parchment paper, store them in a freezer bag, and warm them up in a skillet when you’re ready to use.
Thanks for cooking with me! If you try this recipe, tag @kingerkitchen (its the same on all socials!) so I can see your creations—I seriously love seeing your spins on my go-to favorites.
Disclaimer: This recipe is a recreation and not an original creation. I don’t claim it as my own—it’s a version of a classic I’ve fallen in love with, and I’ve added my own tweaks and storytelling to share it with you here. All credit goes to the original creators of these timeless flavors.
Share this recipe
Subscribe & Receive A Free eBook
Subscribe to receive update recipes, PDF downloads and more!
We do not spam. You can unsubscribe anytime


