In this step-by-step guide, I’ll walk you through exactly how I build my starter, mix the dough, and time the fermentation so it fits into your real-life schedule. Whether you’re new to sourdough or ready to level up your loaves, this recipe will help you bake bread with a beautiful crust, soft interior, and that unmistakable sourdough tang we all love.
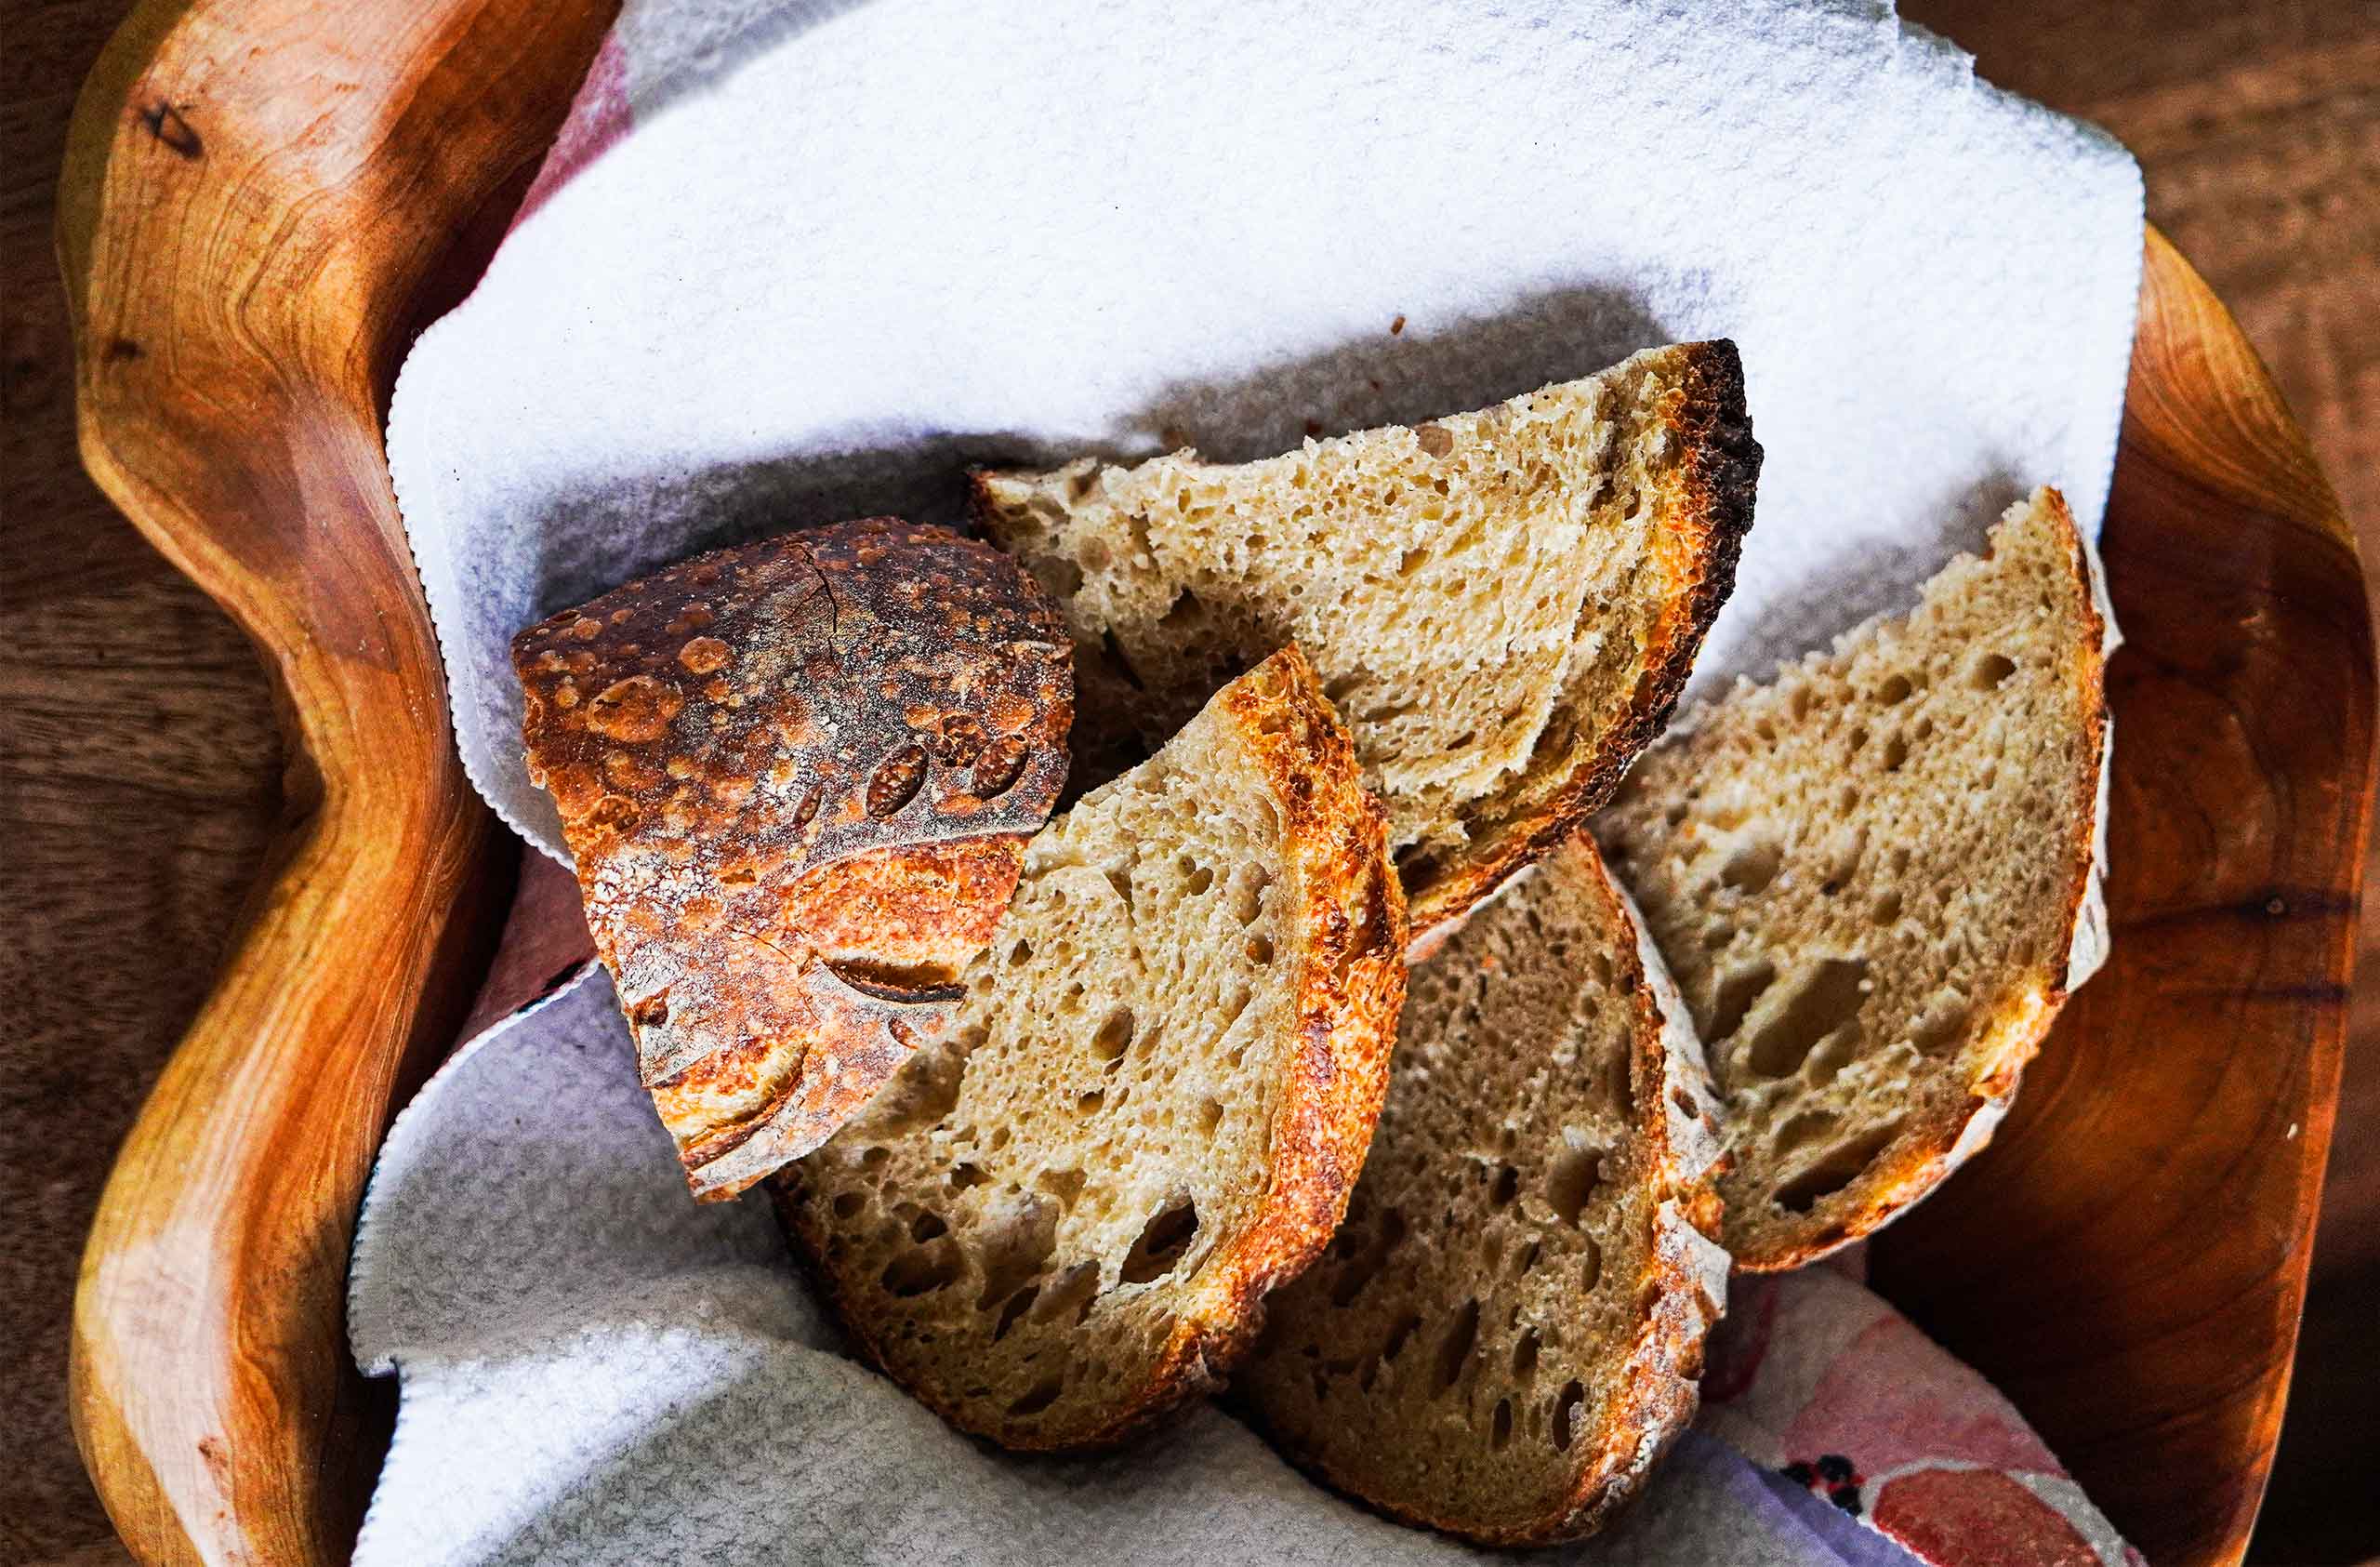
Sourdough bread is art, science and a whole lot of experimentation. When I decided to start creating my first sourdough starter to eventually baking my first sourdough bread, I knew I would learn a lot through the process. I expected to fail. And I did. And liked failing at it. Because I was I hungry to learn sourdough. My friends suggested I just buy starter from the local bakery. And I could and I’m not opposed to this. But I was really wanting to study it and do my own research on starter.
My own intimidation was rooted from this question: ‘How can I replicate this recipe when every bakers Starter varies from kitchen to kitchen‘?
One bakers recipe isn’t the same as the next; airborne bacteria, warmth, and even quality of product can vary. There is an element of science with creating a successful starter and their own adopted technique for making the “perfect” crumb. I watched dozens of Youtube videos, purchased a couple of books, and followed several Facebook groups to understand it. Consensus?
Perfectionism is the thief of joy.
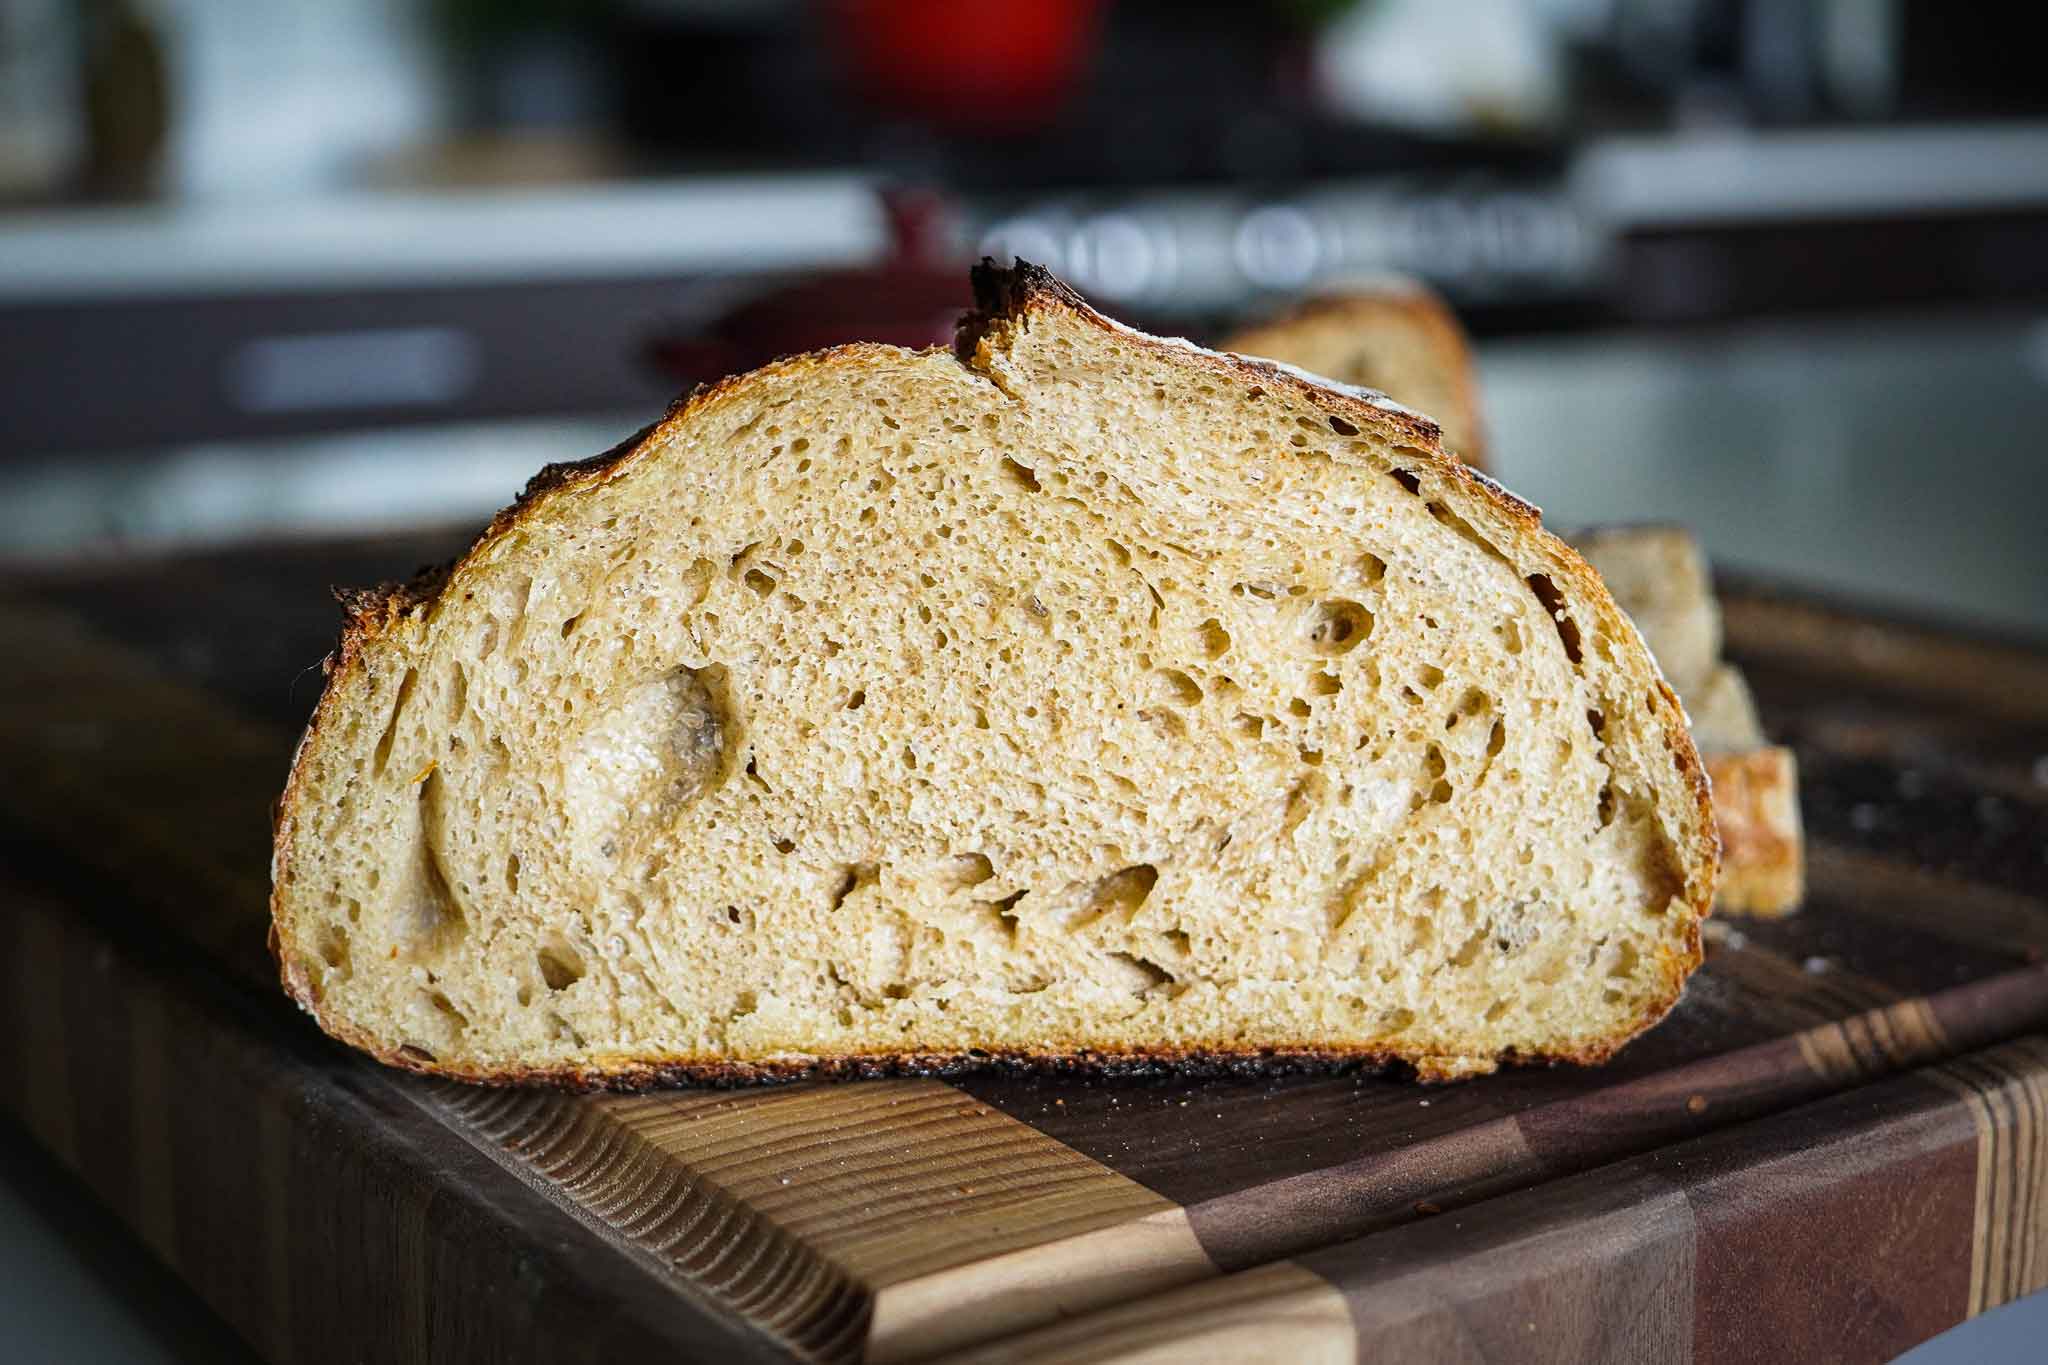
A baker would post a picture of their sourdough bread and it looked damn near perfect to me but they would be upset about it asking ‘whats wrong with my crumb?!’ This was strange to me because I couldn’t figure out why they were not happy with it. What’s wrong with the crumb? (also, what is a crumb?)
The first loaf I made was DENSE and flat; nonetheless, it tasted very good. I can respect they were learning, too, and wanted feedback but If I was happy with it, I wasn’t going to open it up to criticism just yet.
Enjoy that you consumed one less thing with processed ingredients in it.
Just like flowers, its not meant to last forever, its meant to bring us back the present moment and remind us how lucky we are to have the ability to make sourdough at all.
Starter Evolution
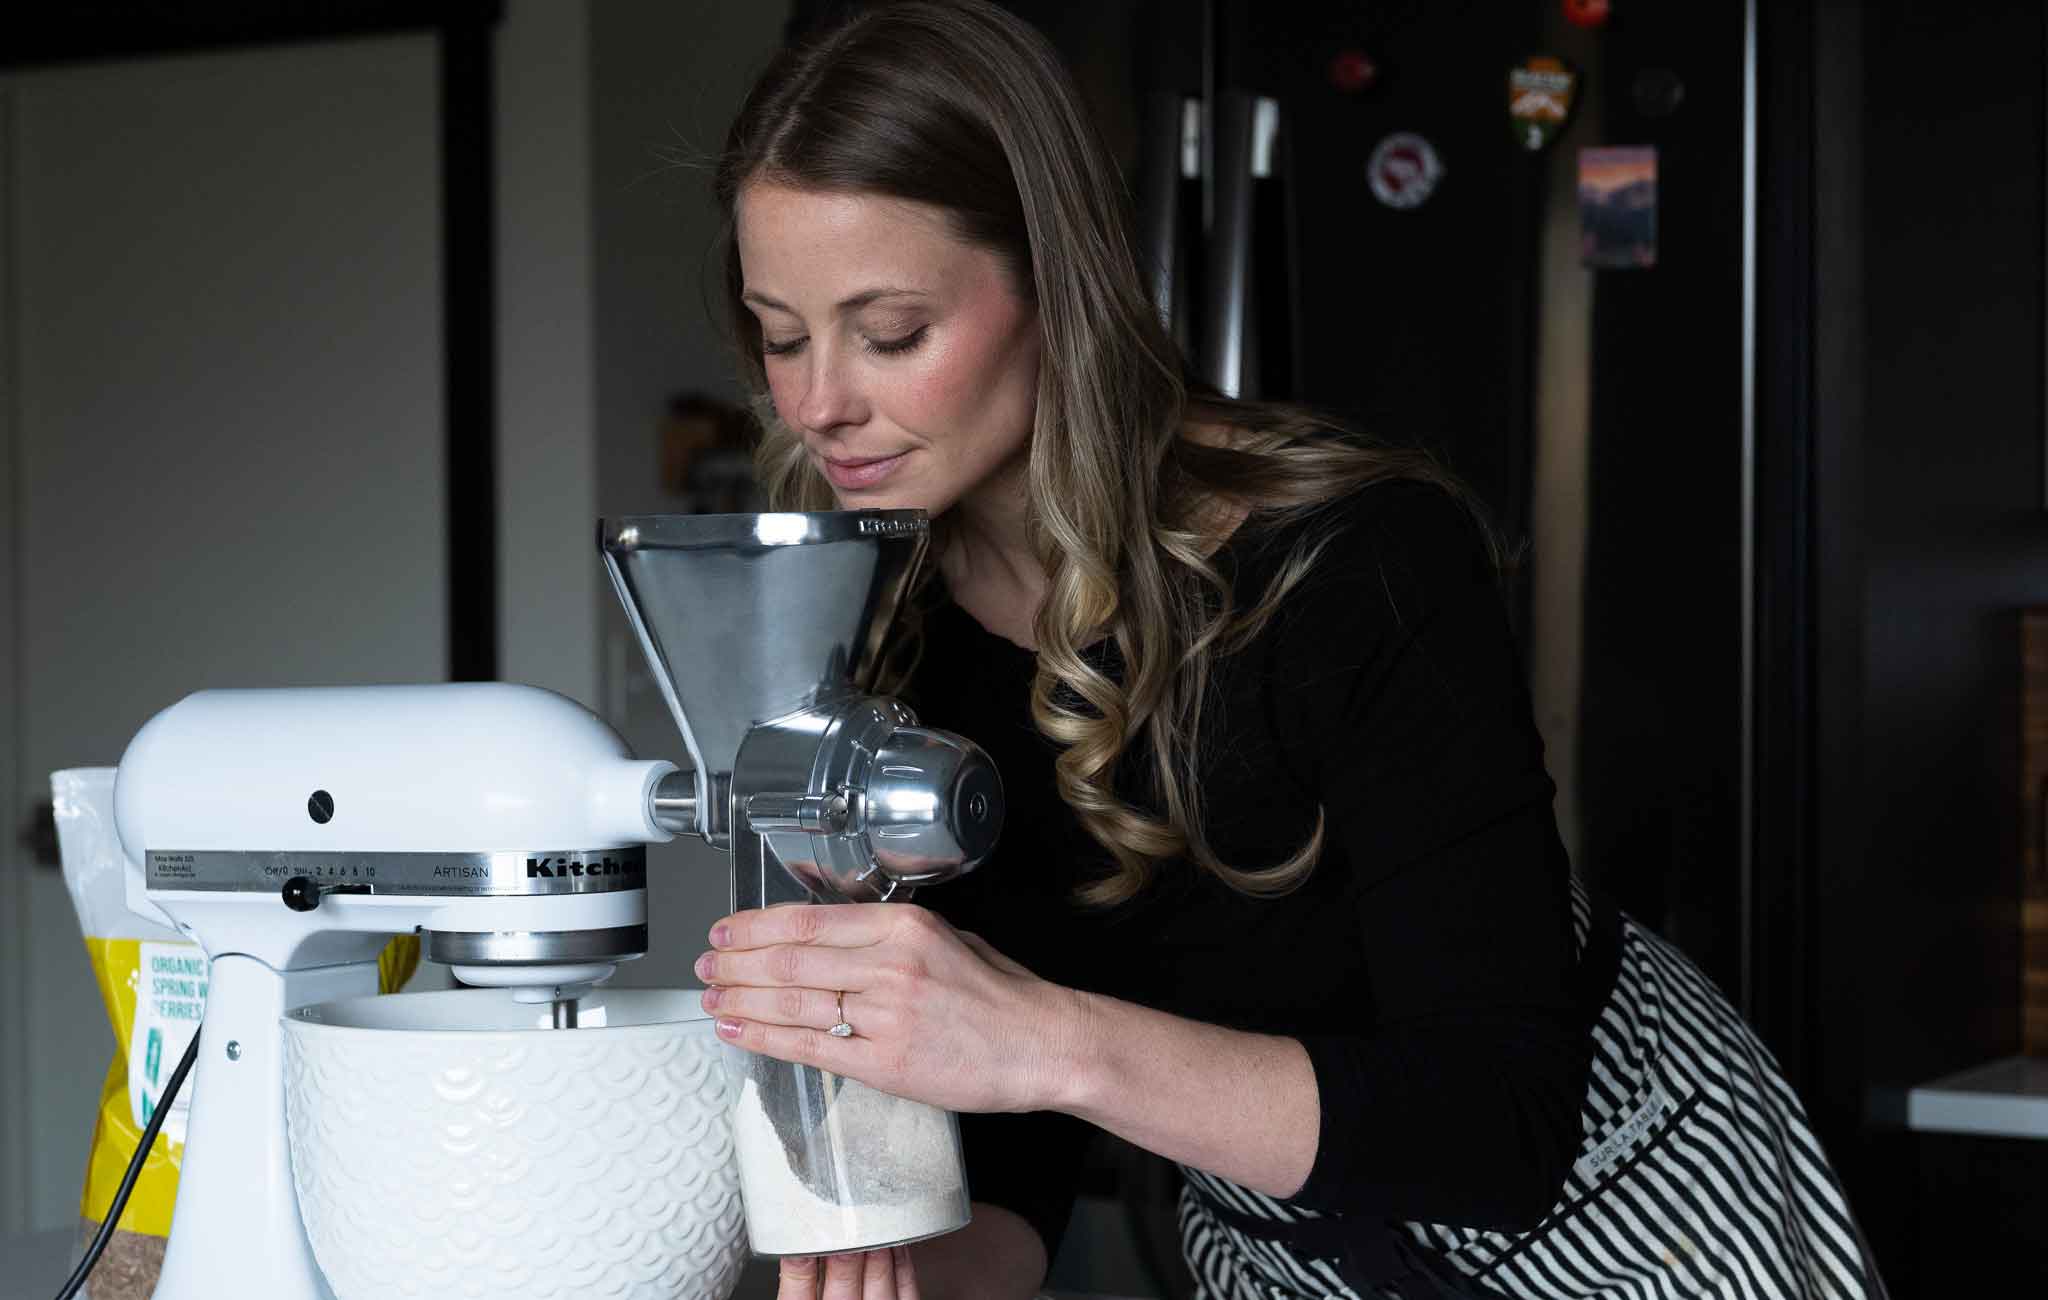
It all starts with the starter, right? My starter is 90 days old and she was a late bloomer. I grind my own Spring Red Wheat Berries from Central Milling in my electric grinder to make my own flour. For the first couple of weeks my ratio for feeding my starter was 1:1:1. (50g starter | 50g Flour | 50g Water). Read the my full sourdough from start to finish in my blog here. After several months, I studied and paid attention to how my starter was responding to different feeding ratios.
My Current Starter Ratio
Eventually, I decided to alter my ratio so its a stiff starter 1:3:2 (25g starter | 75g Flour | 50g Water) and I saw the best results. The next morning I woke up to her tripled in size and I just had to bake with it. She was ready.
I was feeding my starter twice a day to ‘fix it’. For the first 36 days, my starter turned more acidic. So, I had to lower the acidity and increase yeast. To do that, I had to feed it more flour and more frequently. Apparently yeast love freshly ground flour so much it just devours it too fast for me to keep up with; which is what I was doing, grinding my own wheat berries to make flour.
The ratio really depended on feeding it less frequently (because it was getting to be too much) and I needed to slow her peak time down. If I fed her at night, she would peak at 3am when I was fast asleep, when I woke up she would be so starved causing her to be too acidic.
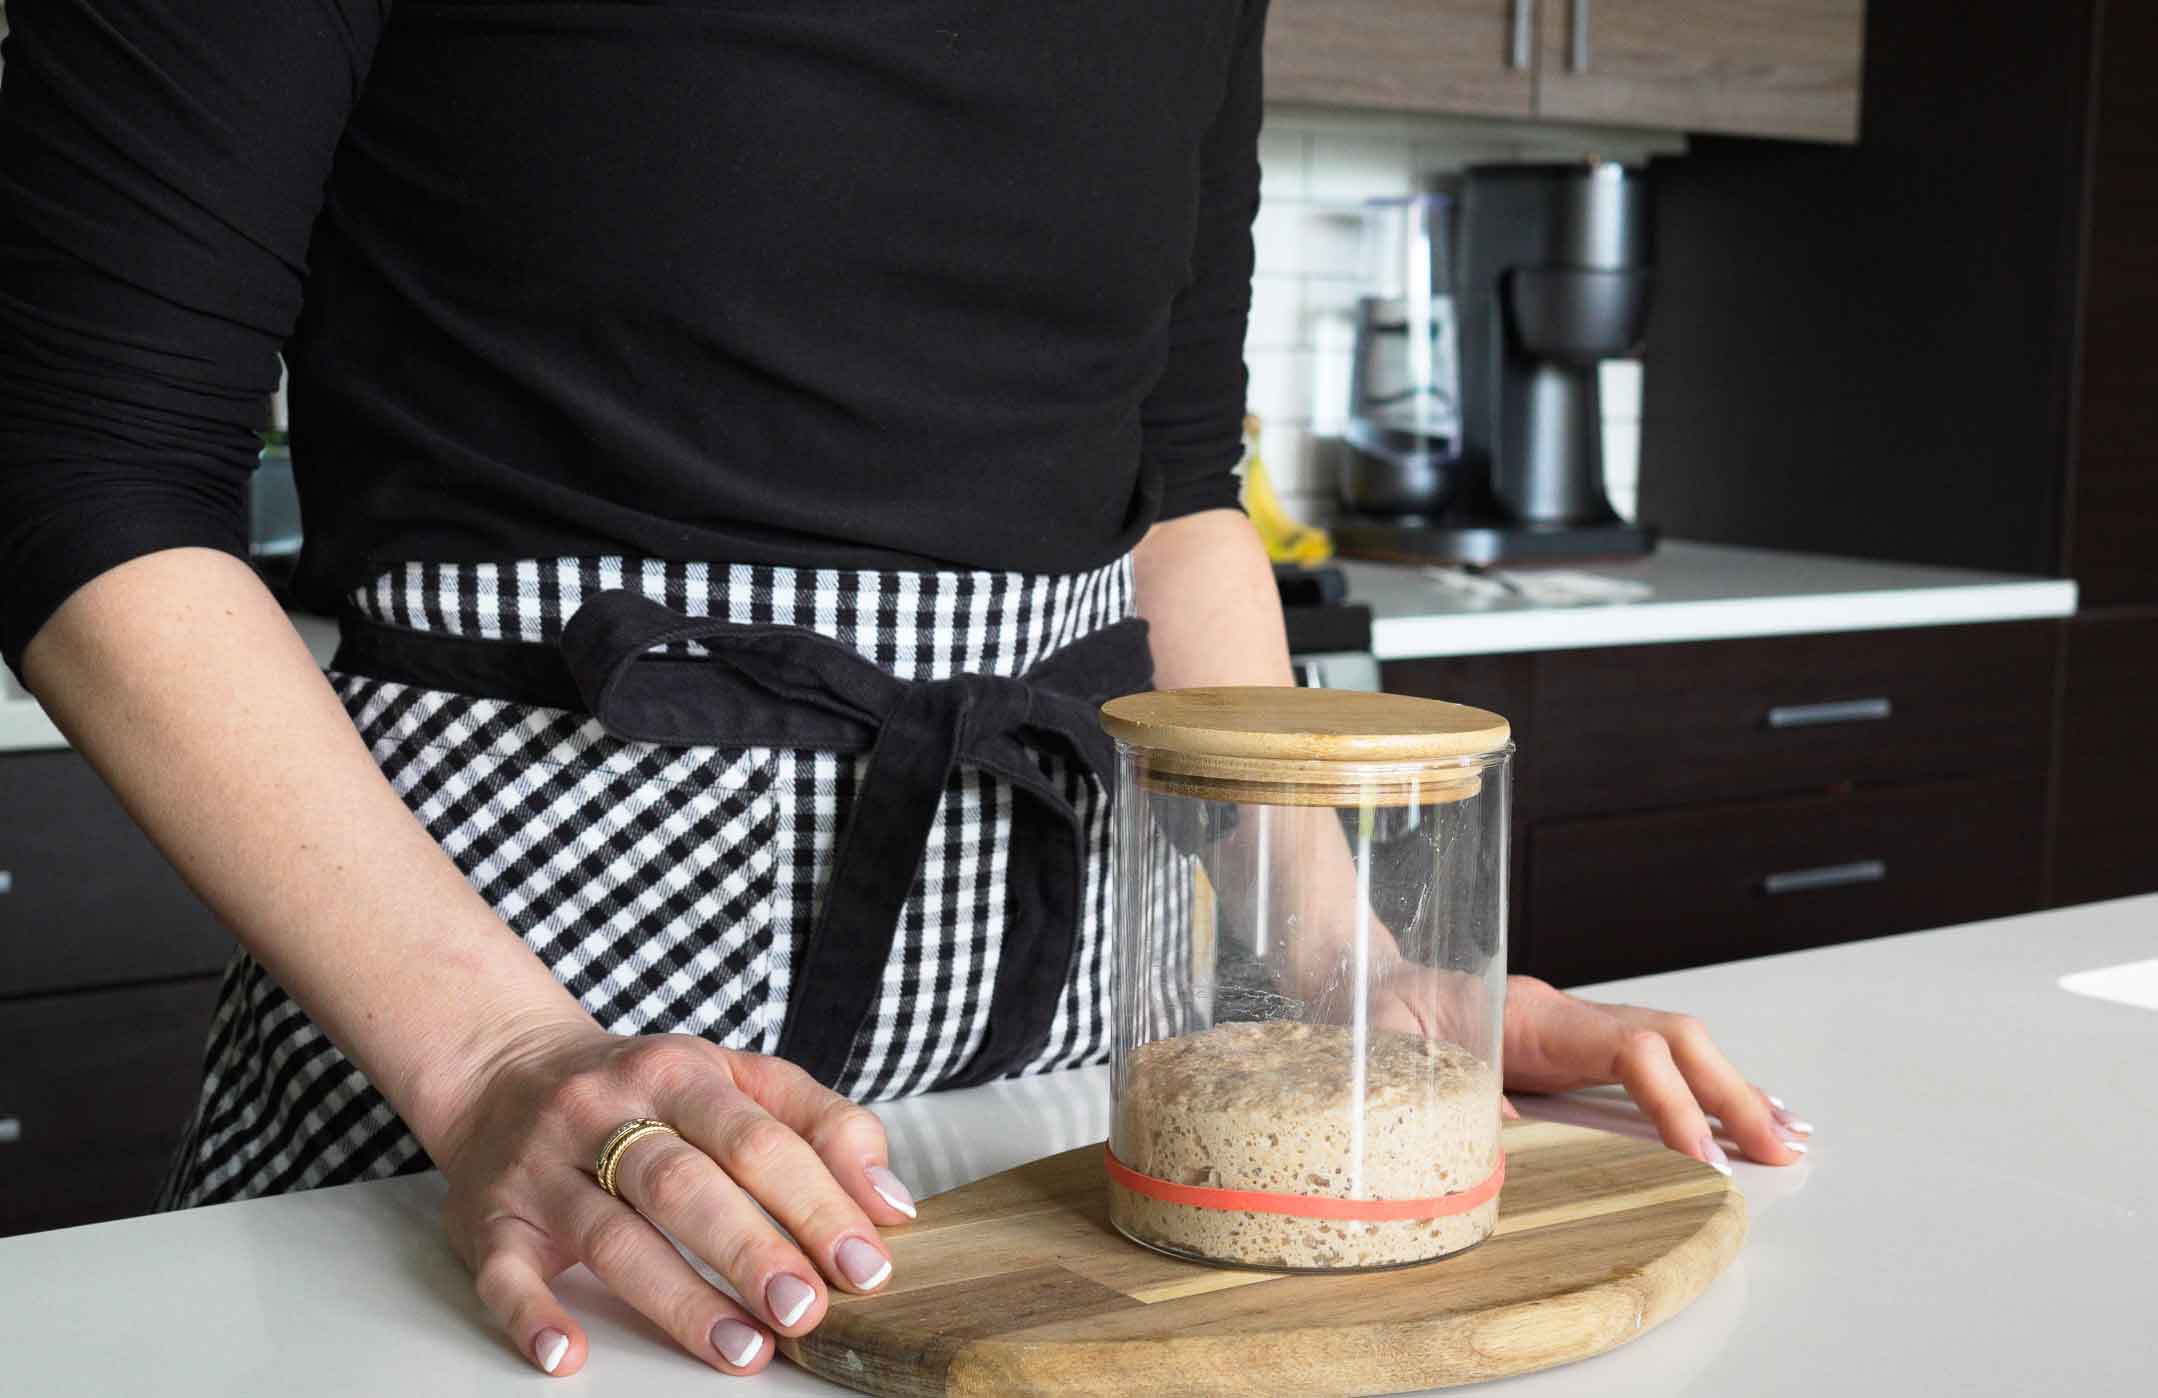
I learned changing the ratio meant my starter worked around my timeline, not the other way around.
I was aiming to start making my dough the following morning around 9am and I read that making a stiff starter allowed slower fermentation that would fit around that timeline. To my surprise, it worked great. She tripled in size and was super ‘fluffy’ looking. Normally my starter is runny and hungry by the next morning and its way past peak to use it. I think I found my sweet spot ratio.
Time for baking!
Bulk Fermentation
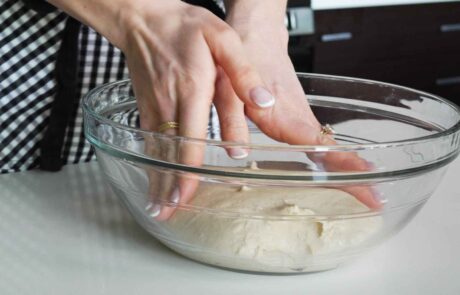
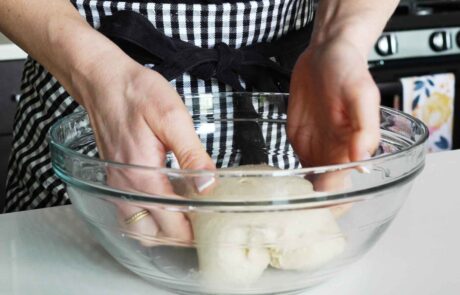
Bulk fermentation starts right when you mix in your starter & salt to your dough mixture. In this recipe, I mixed my flour and water first and let it sit for about an hour before I added in my starter and salt. This method is called Autolyse and it allows the gluten to start to develop on its own and it improves hydration since I was working with a stiff starter to begin with; I thought this would help with elasticity as well.
Why Dough Temperature Matters
I decided to take my dough temperature throughout fermentation because my kitchen is cold and my oven is too warm; I needed to regulate it. If my dough is too warm, above 82 degrees (F), then it would be difficult to build structure and I could over ferment it very easily. If it was under 72 degrees (F) then it wouldn’t ferment & build gluten fast enough, plus it wouldn’t be elastic enough to shape and work with and you risk under fermentation. If its fermenting too slowly, it wont ever reach 75% rise like you want.
I care more about rise than I do about time. However, if too much time passes without fermentation, then it wont rise. Temperature lets you know whats going to happen so you can correct.
What is Aliquot Method?
The sourdough aliquot method is a technique used by bakers to accurately monitor fermentation and rise during the bulk fermentation stage.
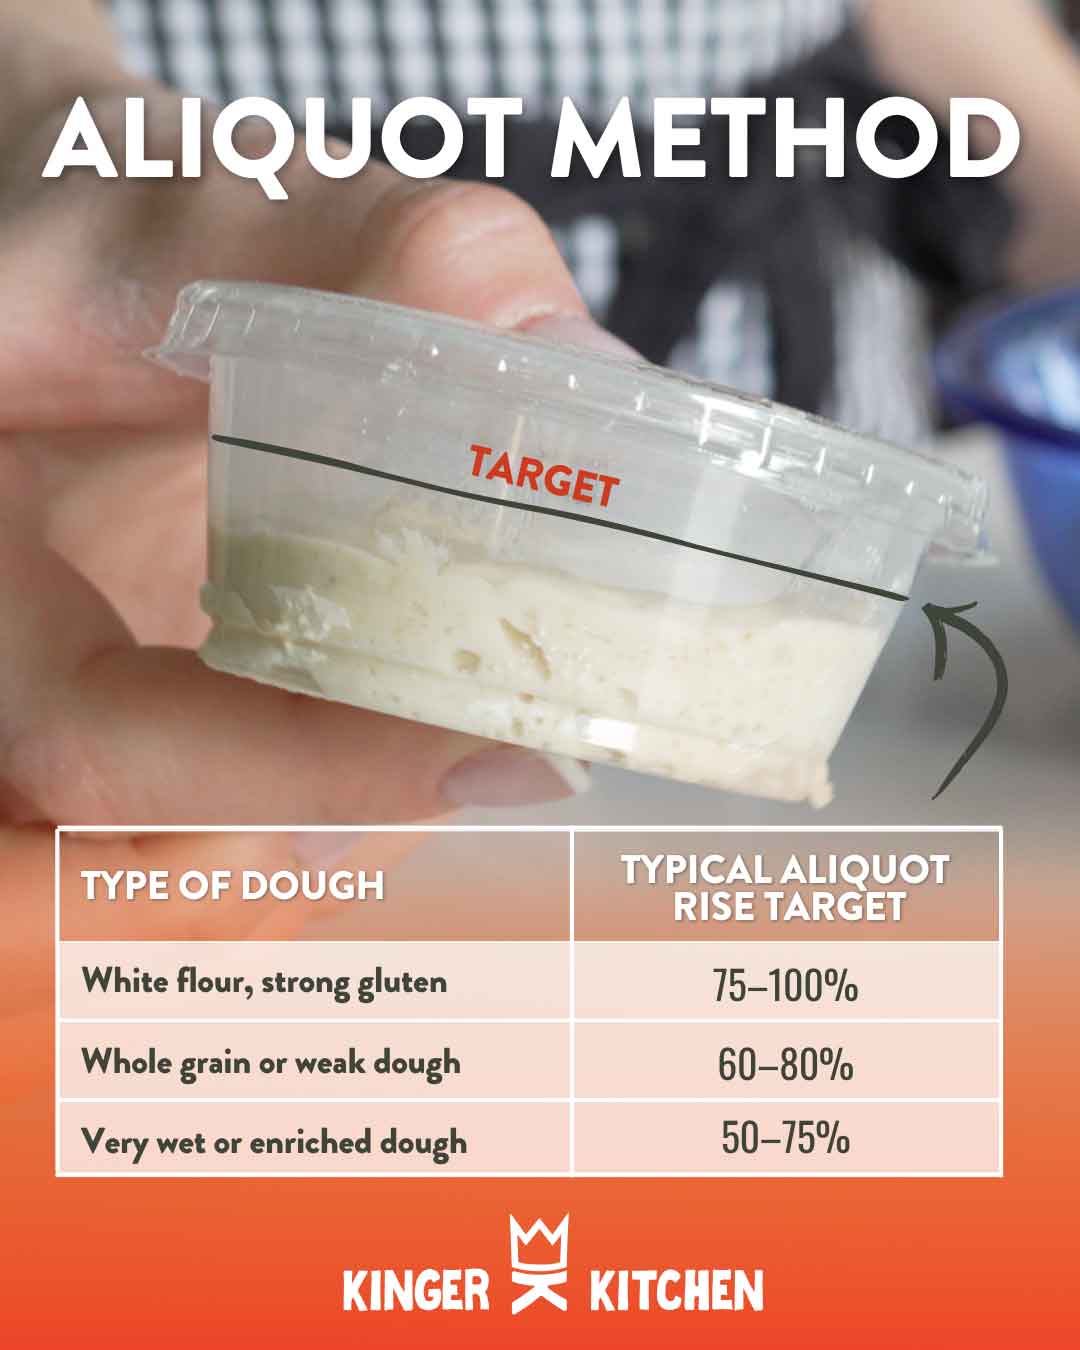
An aliquot is just a fancy word for a small sample. In sourdough baking, the aliquot method involves taking a small portion of your dough, I did 40grams, in a 2oz plastic container.
I did some research and noticed any baker who did the Aliqout method waited to shape until the dough toughed the lid. I did not do this because I was concerned it would be over fermented.
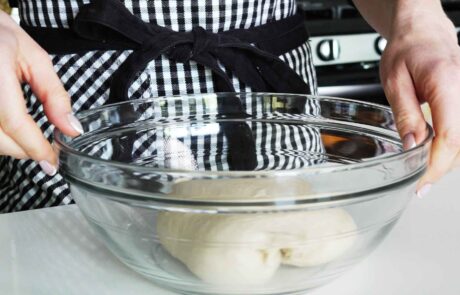
Here’s how you do it: Right after mixing all ingredients and before your first stretch and fold, pinch off ~20–30g of dough. Mark the height its at in the small container, and place the small container next to your larger dough.
I put a simple guide on what percentage you should aim for depending on your dough.
My target was 75% since I used white flour and my starter was stiff. I think if I waited until 100% it would risk being over fermented.
Stretch & Folds
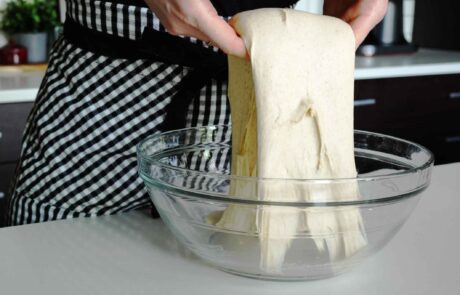
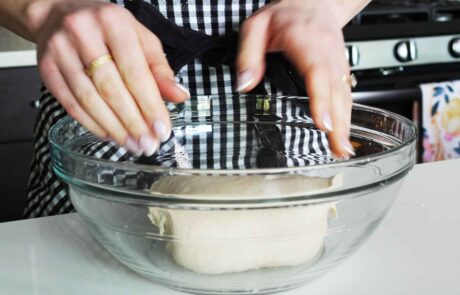
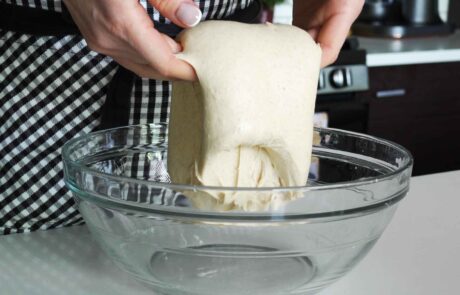
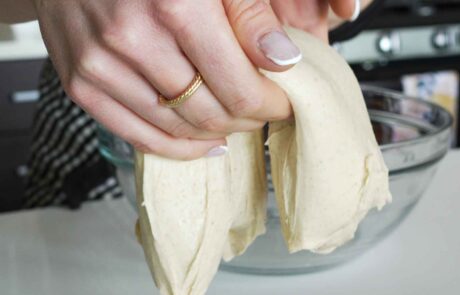
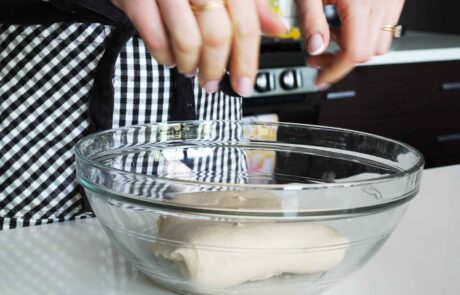
Bulk fermentation starts right when you mix in your starter & salt to your dough mixture. In this recipe, I mixed my flour and water first and let it sit for about an hour before I added in my starter and salt. This method is called Autolyse and it allows the gluten to start to develop on its own and it improves hydration since I was working with a stiff starter; I thought this would help with elasticity.
Shaping
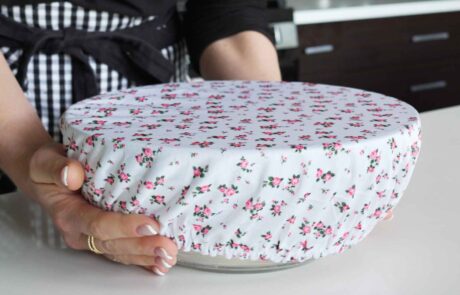
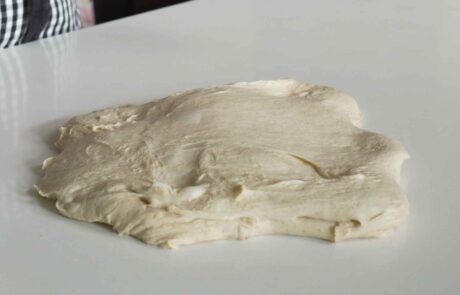
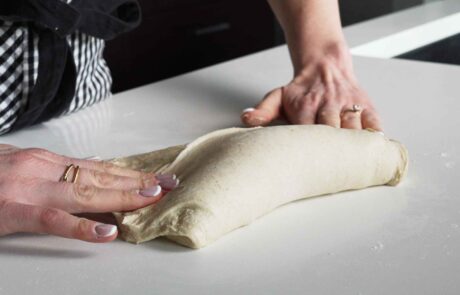
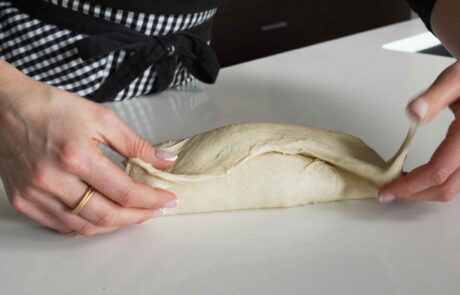
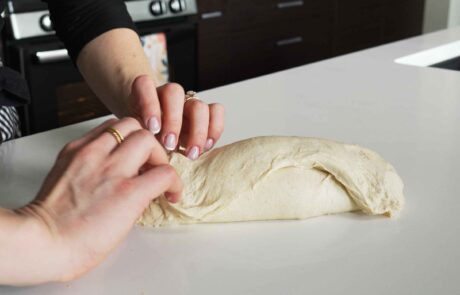
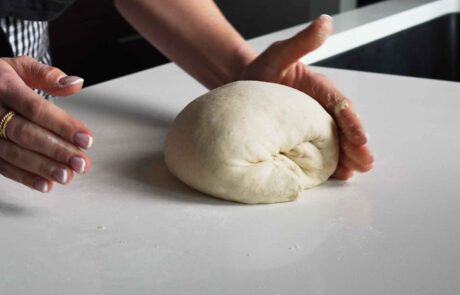
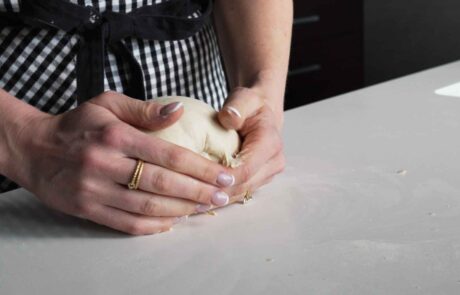
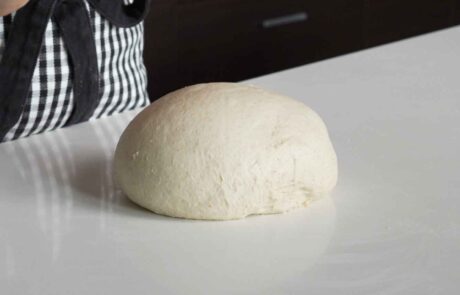
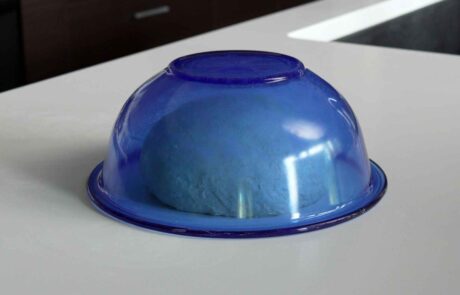
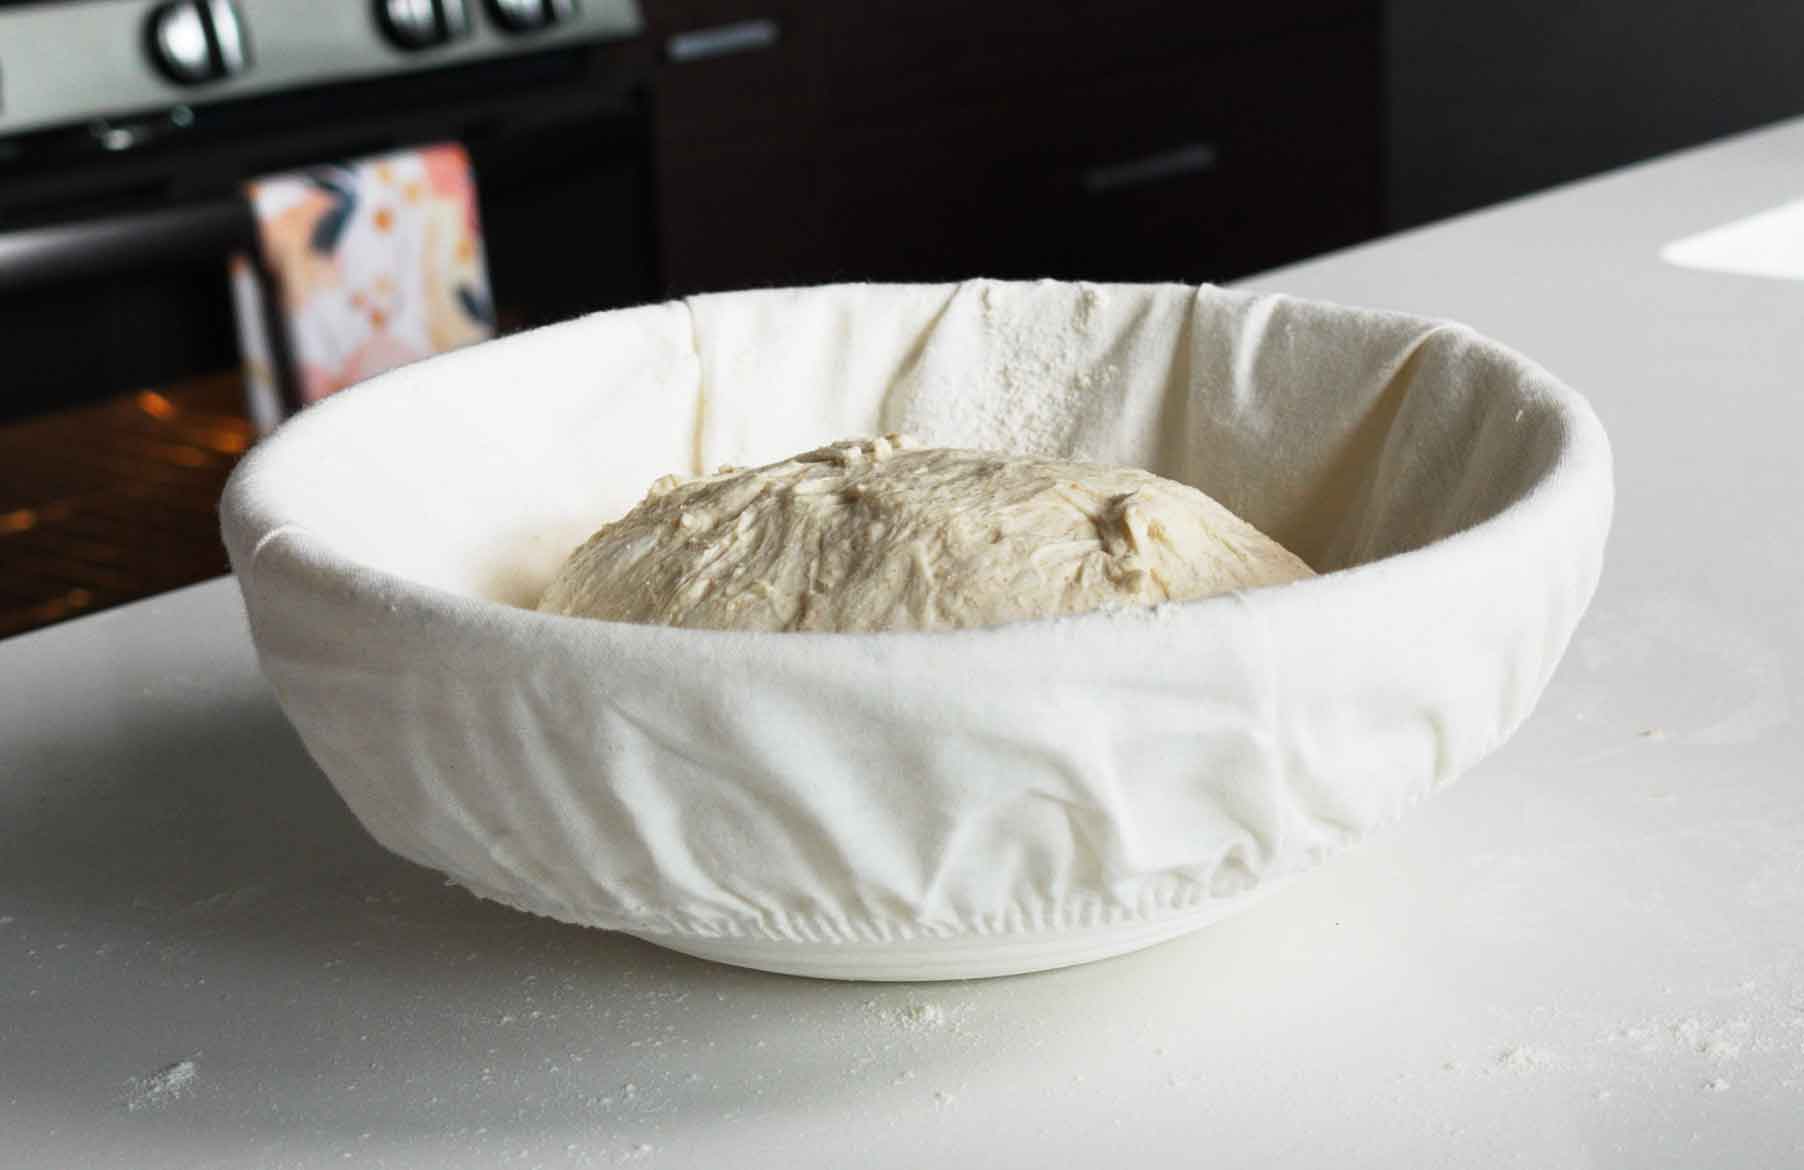
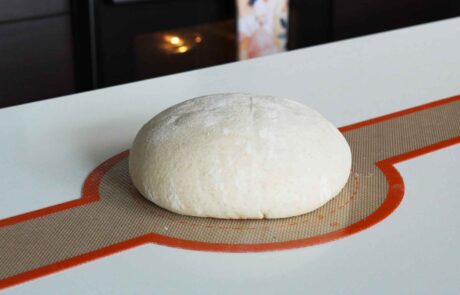
Once you have completed 3-4 stretch and folds and allowed your dough to rise about 75% then its time for shaping your dough. Place your dough on a lightly floured surface, spread her out like a square, grab the top corners and fold over like you’re folding a letter, repeat on bottom. Next you’ll start on one end and fold it inward like you’re rolling up a burrito. After its in a ball, you turn the dough ball inward and pull towards you; this provides strength and structure. Do this until your ball feels tight. Let it rest on your counter, covered, for about 30-45 minutes. Repeat this step and then place in your banneton, seam up.
Repeat your shape and folds again after 30-40 min of resting on the counter.
Shaping in Banneton
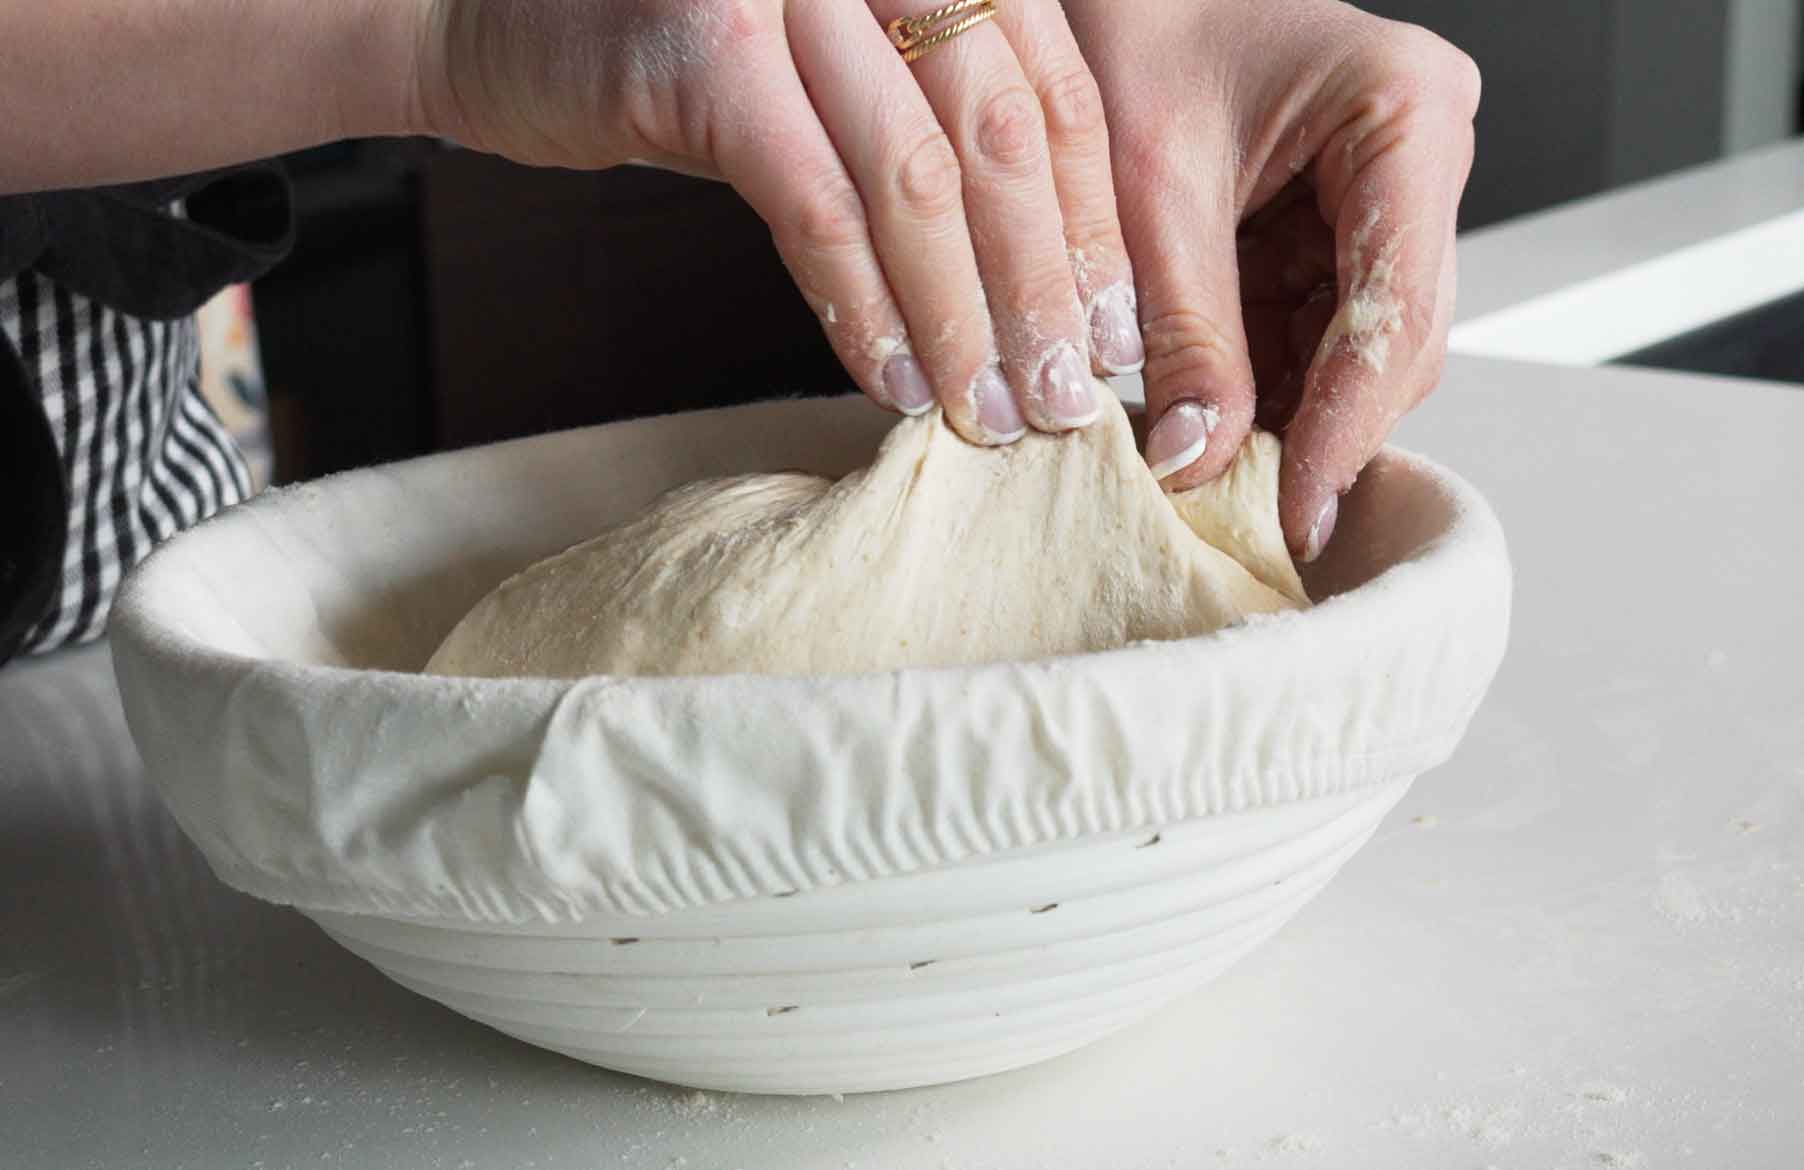
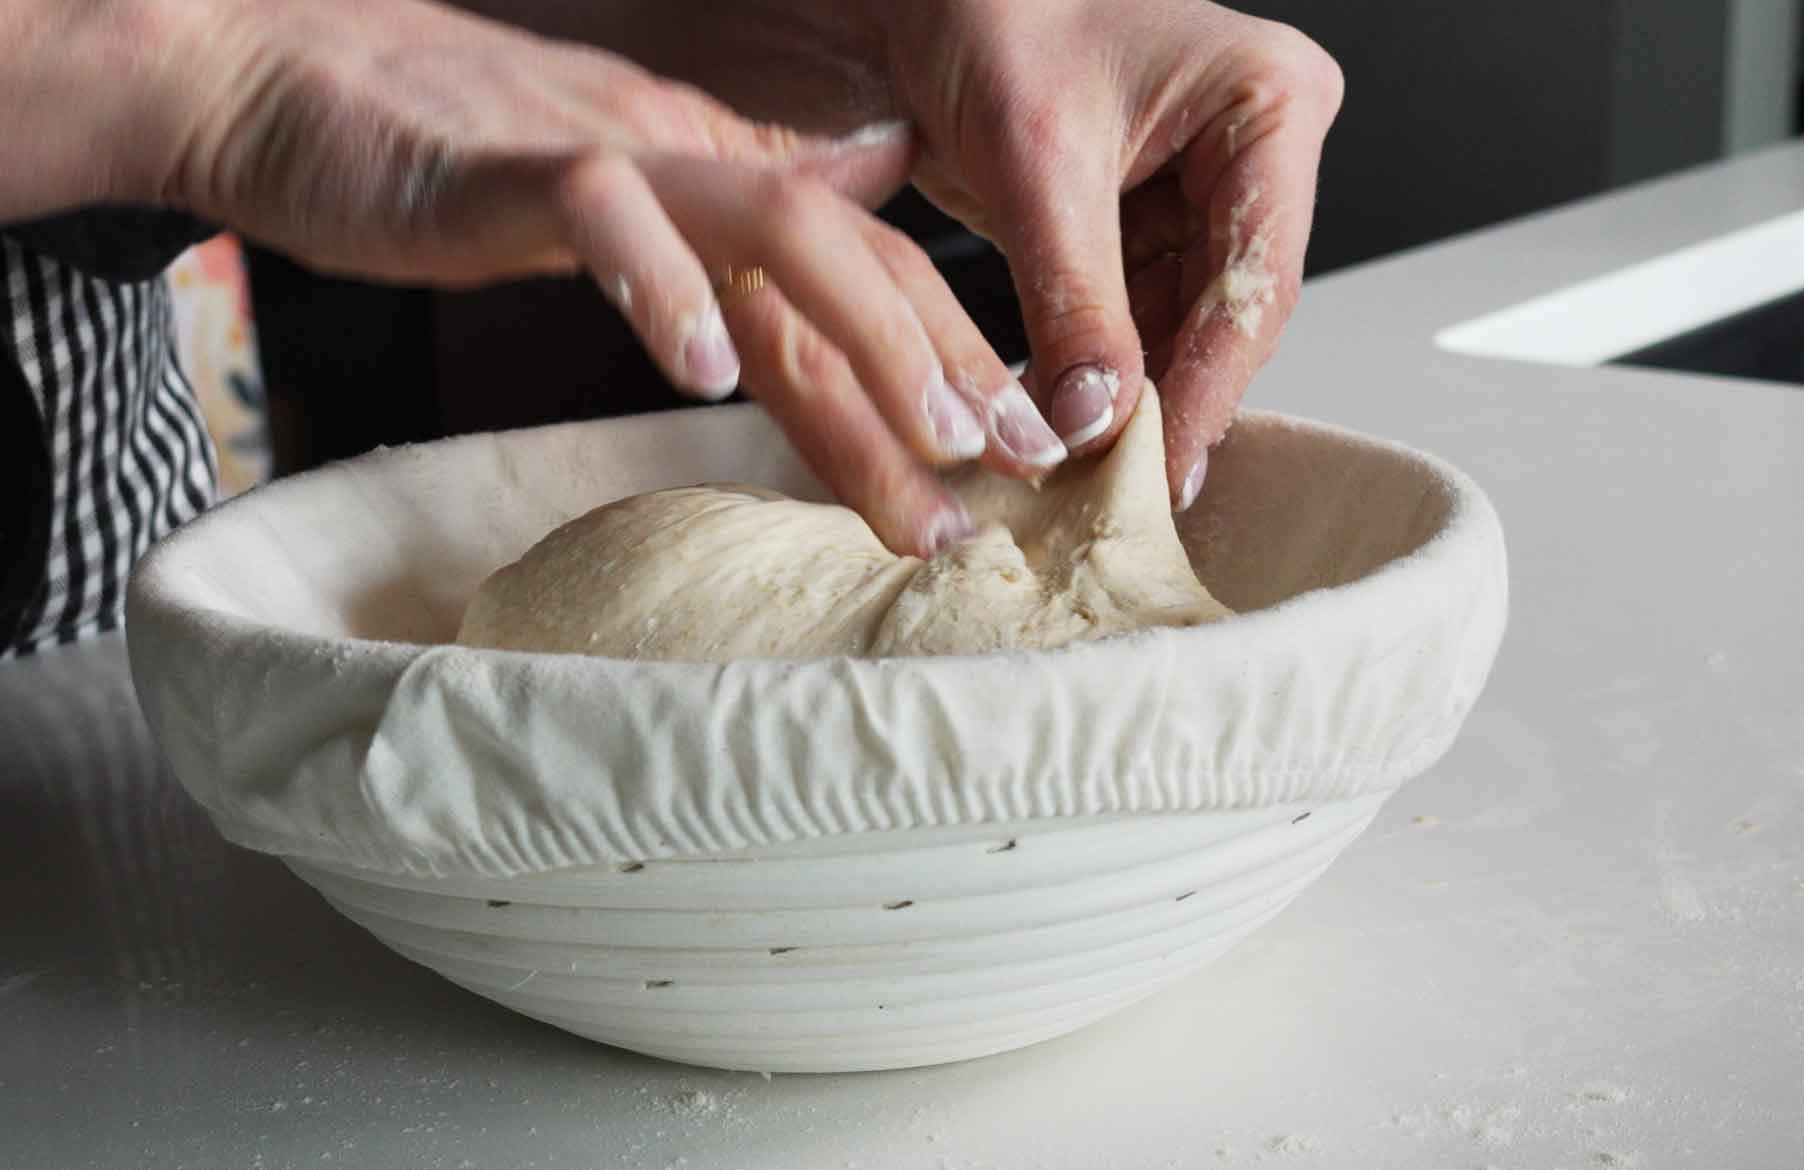
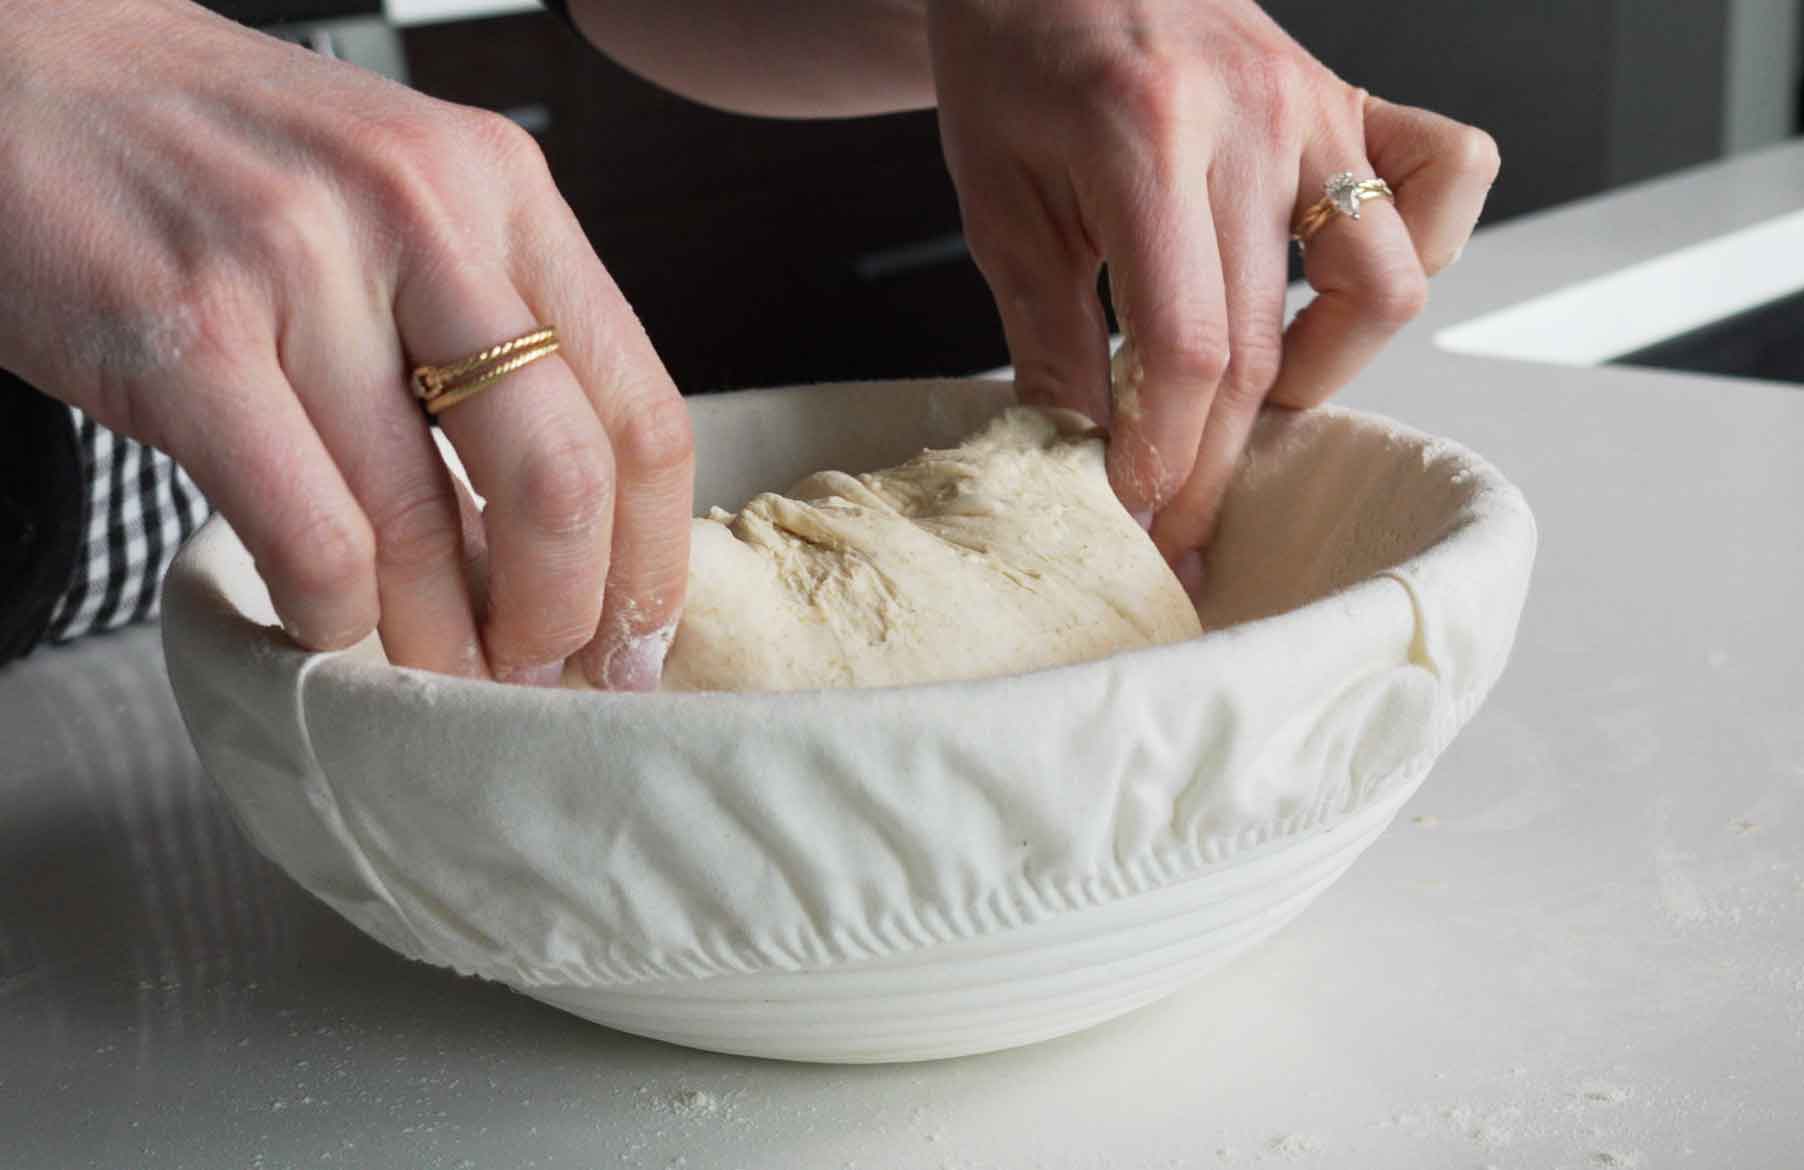
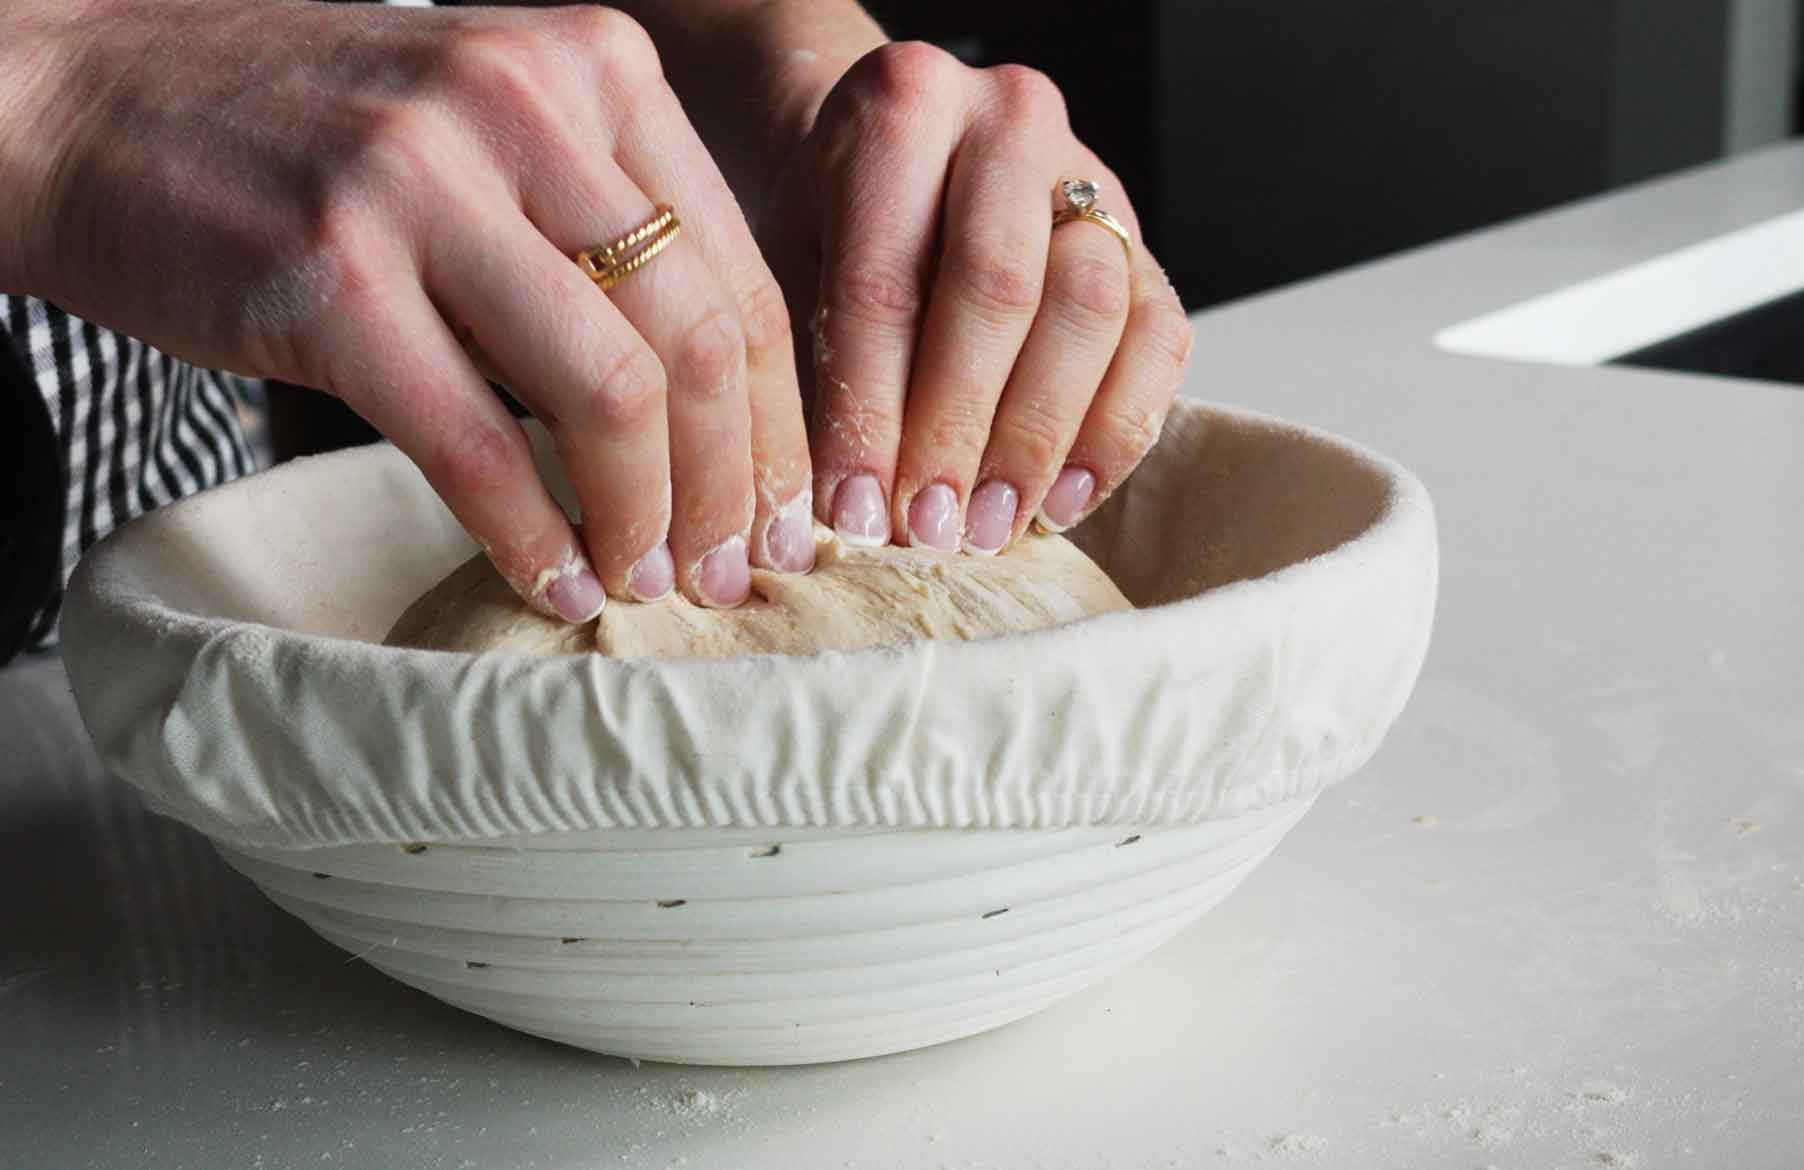
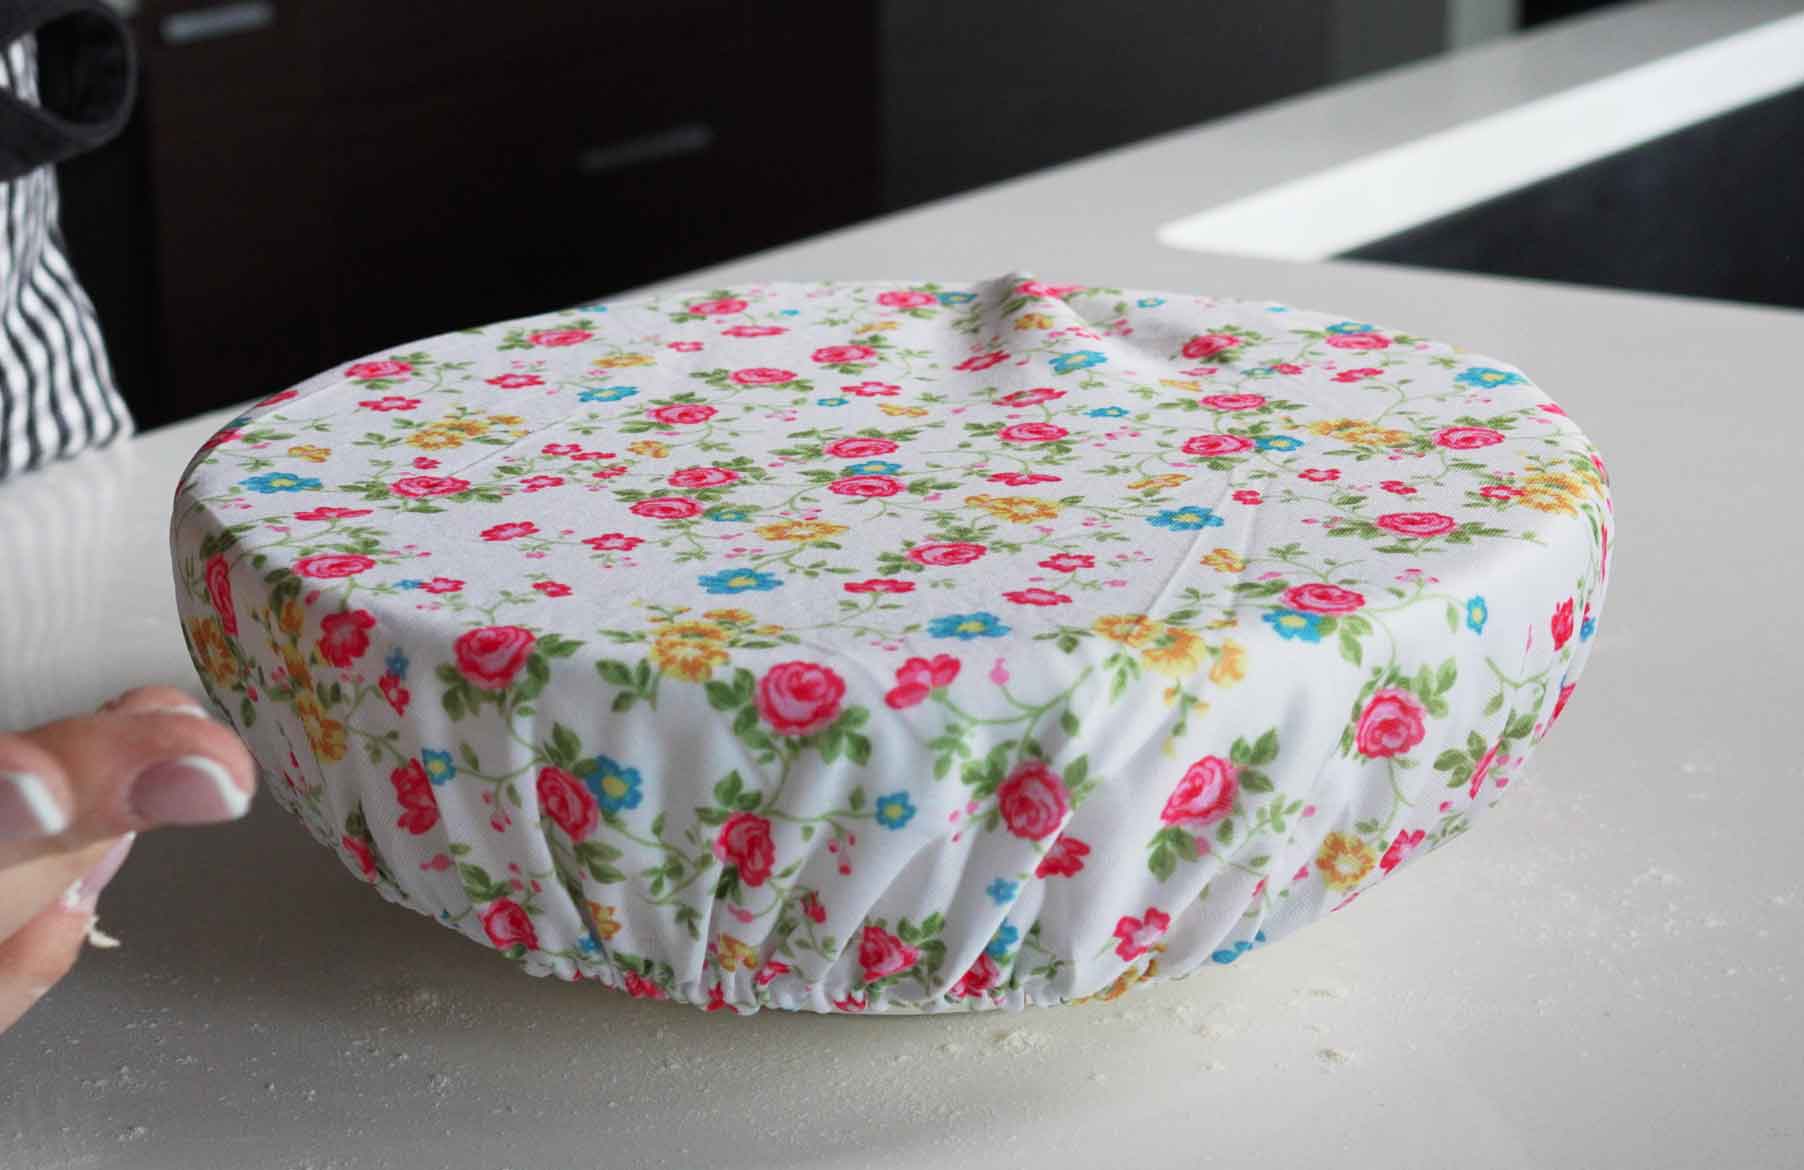
After you shaped your dough a second time, place seam side up in your banneton (or floured glass bowl). I lightly dust my banneton with flour just in case! Once you place your dough seam side up, I pull a small portion from the top right and tuck it over like I’m wrapping her up in a blanket. Then the left corner. Again in the middle, and a third time on the bottom corner. Finally, I pinch the ends and the center one more time. Cover and let rest in your fridge overnight.
Next Day…
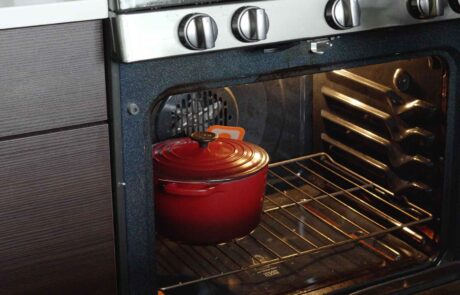
Its the next morning and you’re ready for baking! Preheat your dutch oven inside your oven at 500 degrees (F), let it bake for about 30 minutes before you put your dough in it.
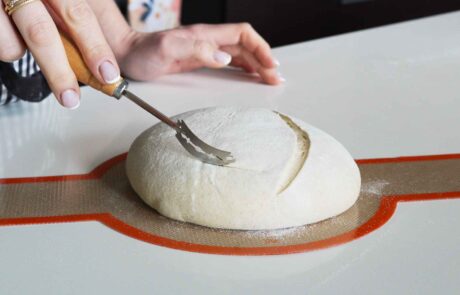
Place your dough on parchment paper or a silicone sling and score the top of it. I found the best success using a silicon sling.
Score: The scoring is important to allow the bread to rise as it bakes. Do one long deep slash and then you can do shallow decorative cuts. Note: I use Rice Flour on top because it doesn’t bake off like regular flour would.
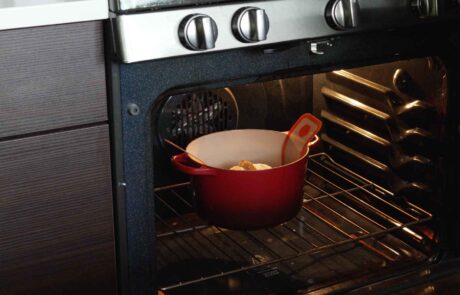
When you are ready to put your dough in the dutch oven, reduce oven temp to 475 degrees, bake with the lid on for 20 mins.
After the 20 minutes, remove the lid, reduce your oven temp to 450 degrees and bake for an additional 20 minutes. Your internal temp of your bread should read between 200-210 degrees.
Let her rest…
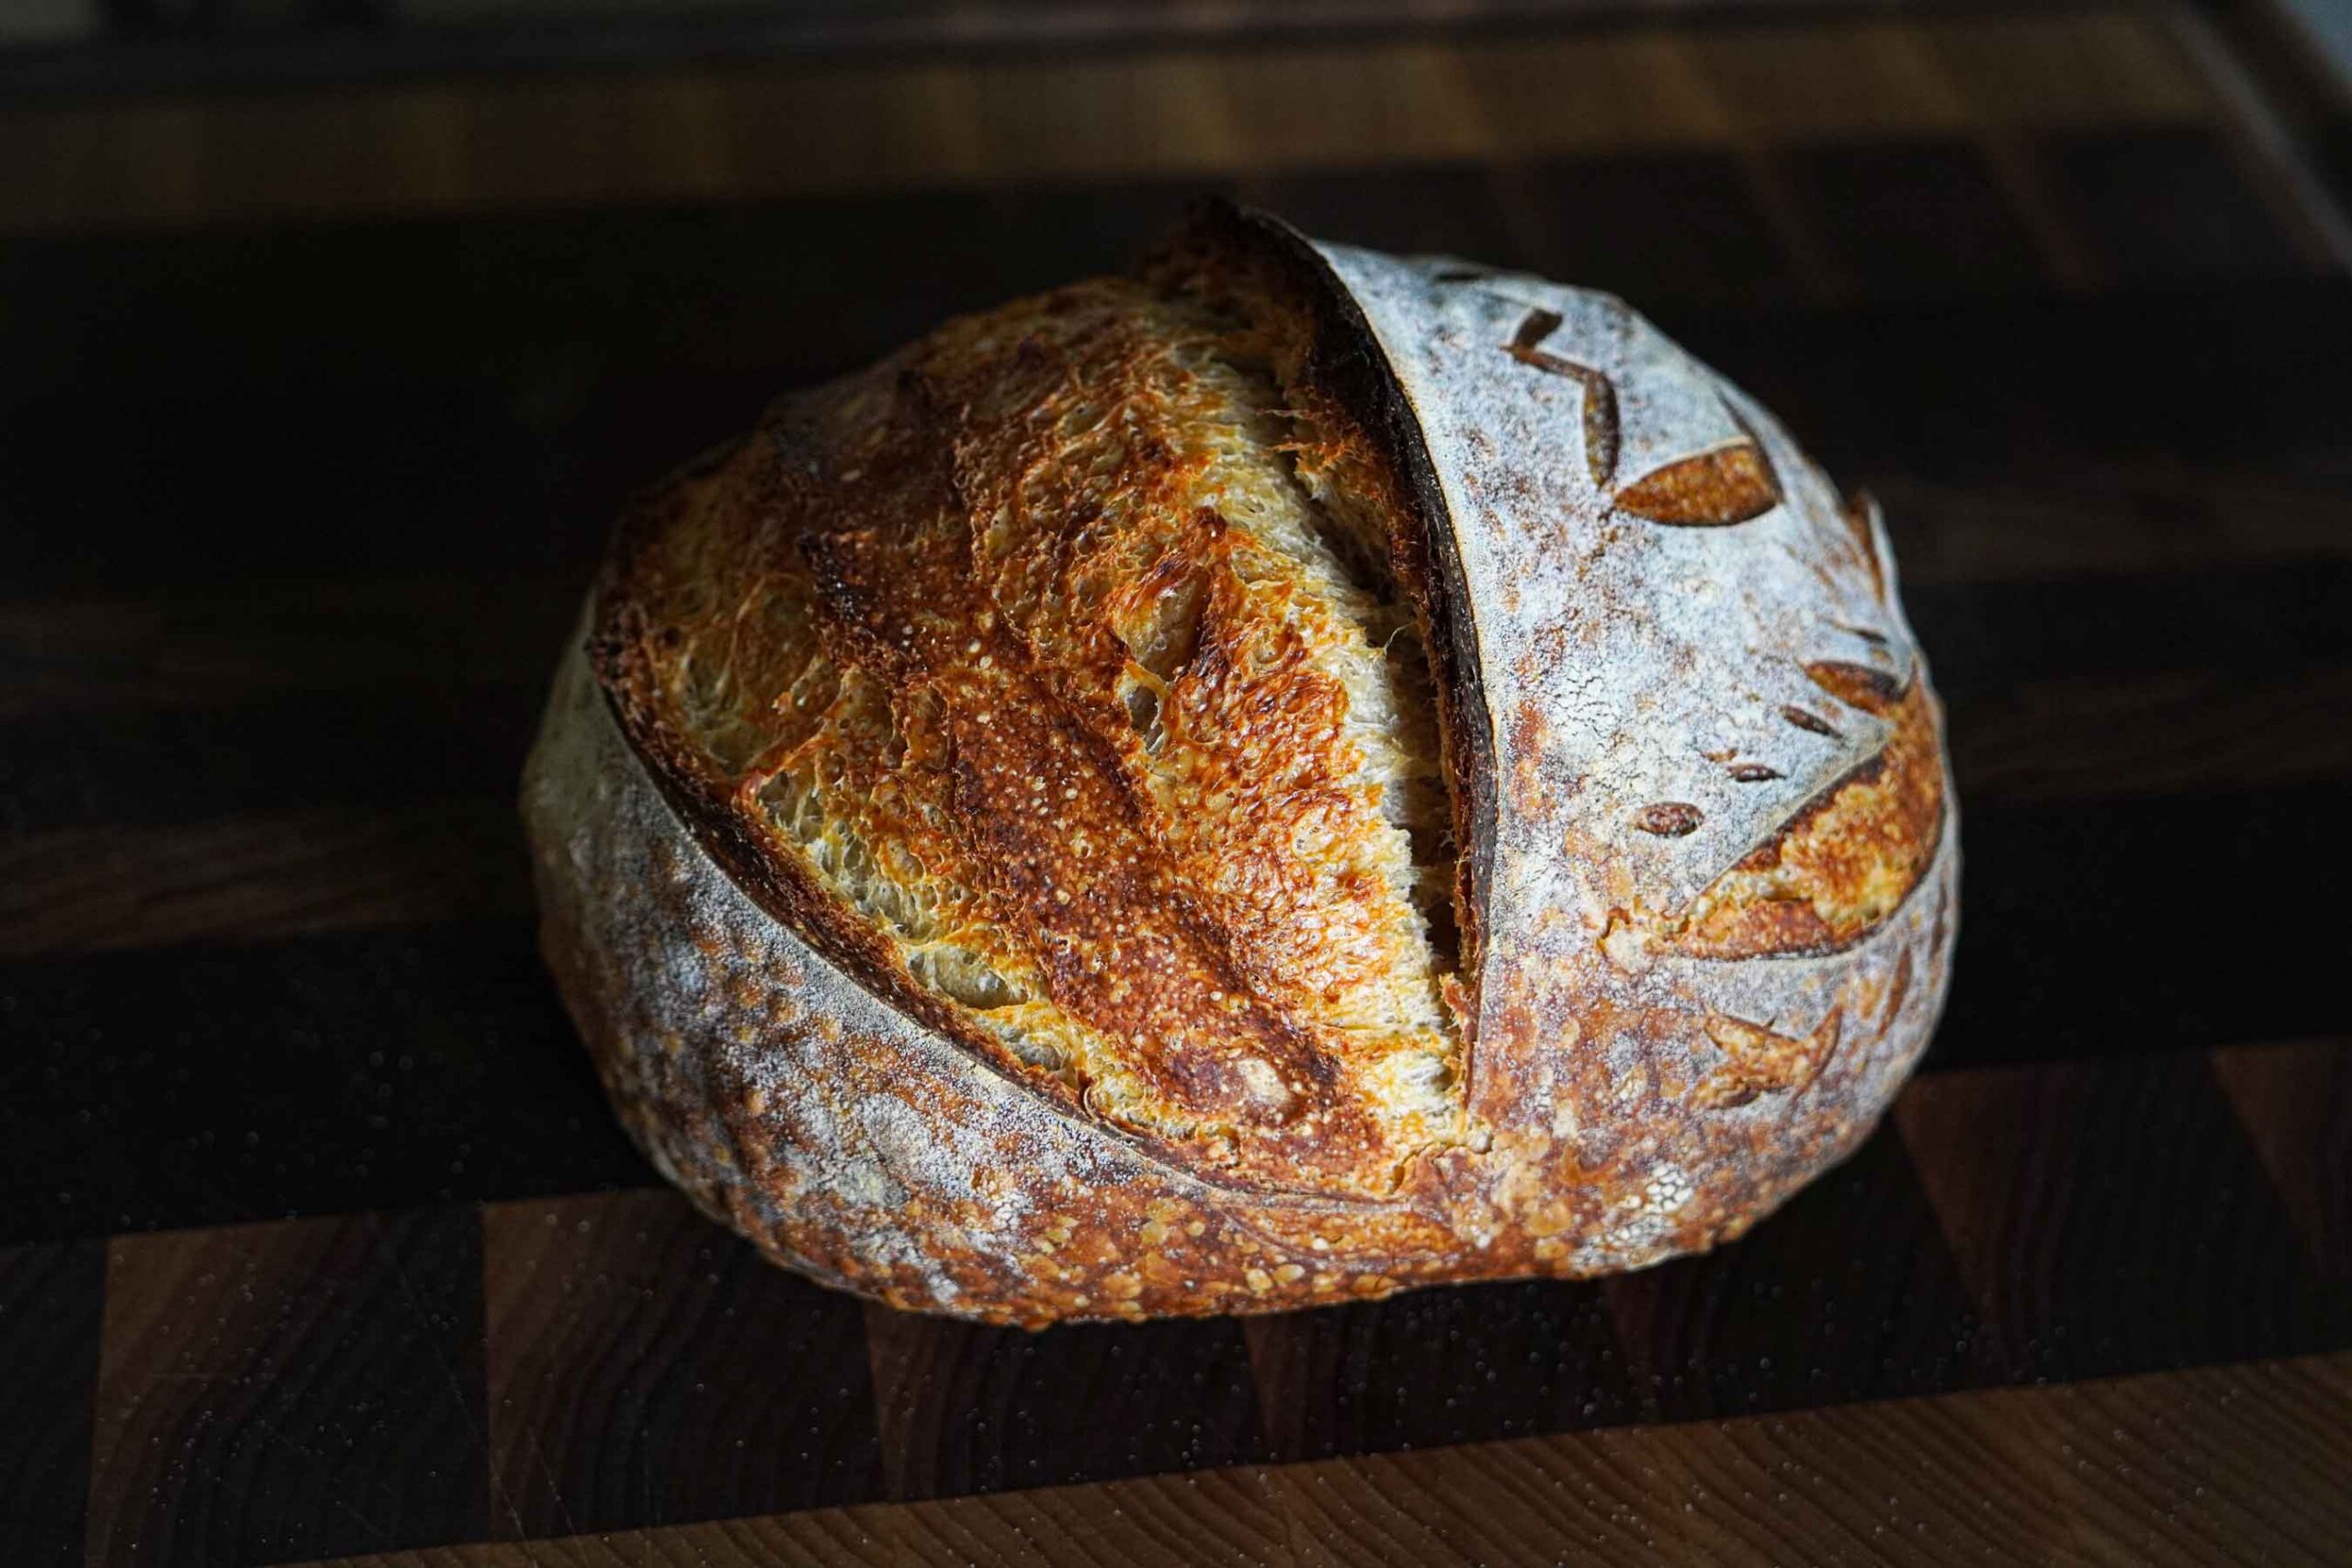
Your kitchen will smell AMAZING but you cant cut into your bread just yet. Think of this like letting your protein absorb the juices, if you cut into it too soon, the juice will come out and leave you with dry meat. This is similar. Out of curiosity, I weighed my dough and it was 611g. After 1 hour of resting, she weighed 608g, and after two hours, she was 607g; a slight decrease. I thought that was super interesting that showed how my bread was still baking and getting lighter in the process.
Full Recipe in Details
This recipe uses a stiff starter and the Autolyse increases bread hydration to 72%. This recipe makes one small loaf of bread.
INGREDIENTS
Timeline (Mixing at 9AM)
Baking
Congratulations! You just made homemade sourdough bread from scratch!
Share this recipe
Subscribe & Receive A Free eBook
Responsive innovate grok latte disrupt intuitive actionable insight SpaceTeam grok. Human-centered design Steve Jobs.
We do not spam. You can unsubscribe anytime.


